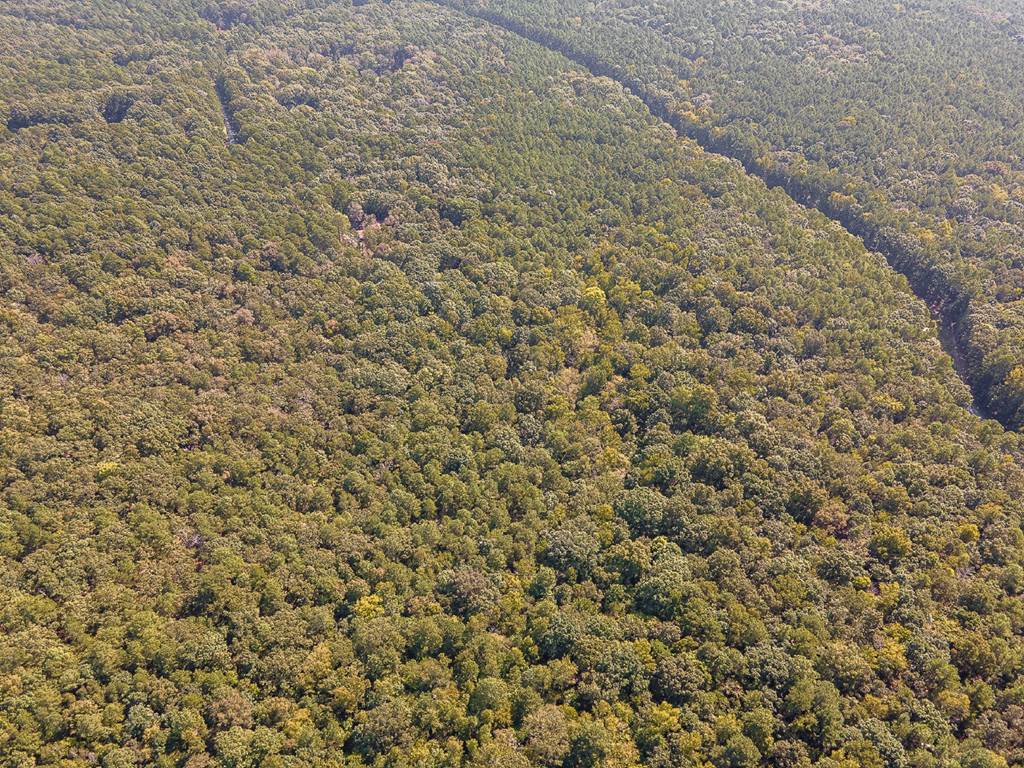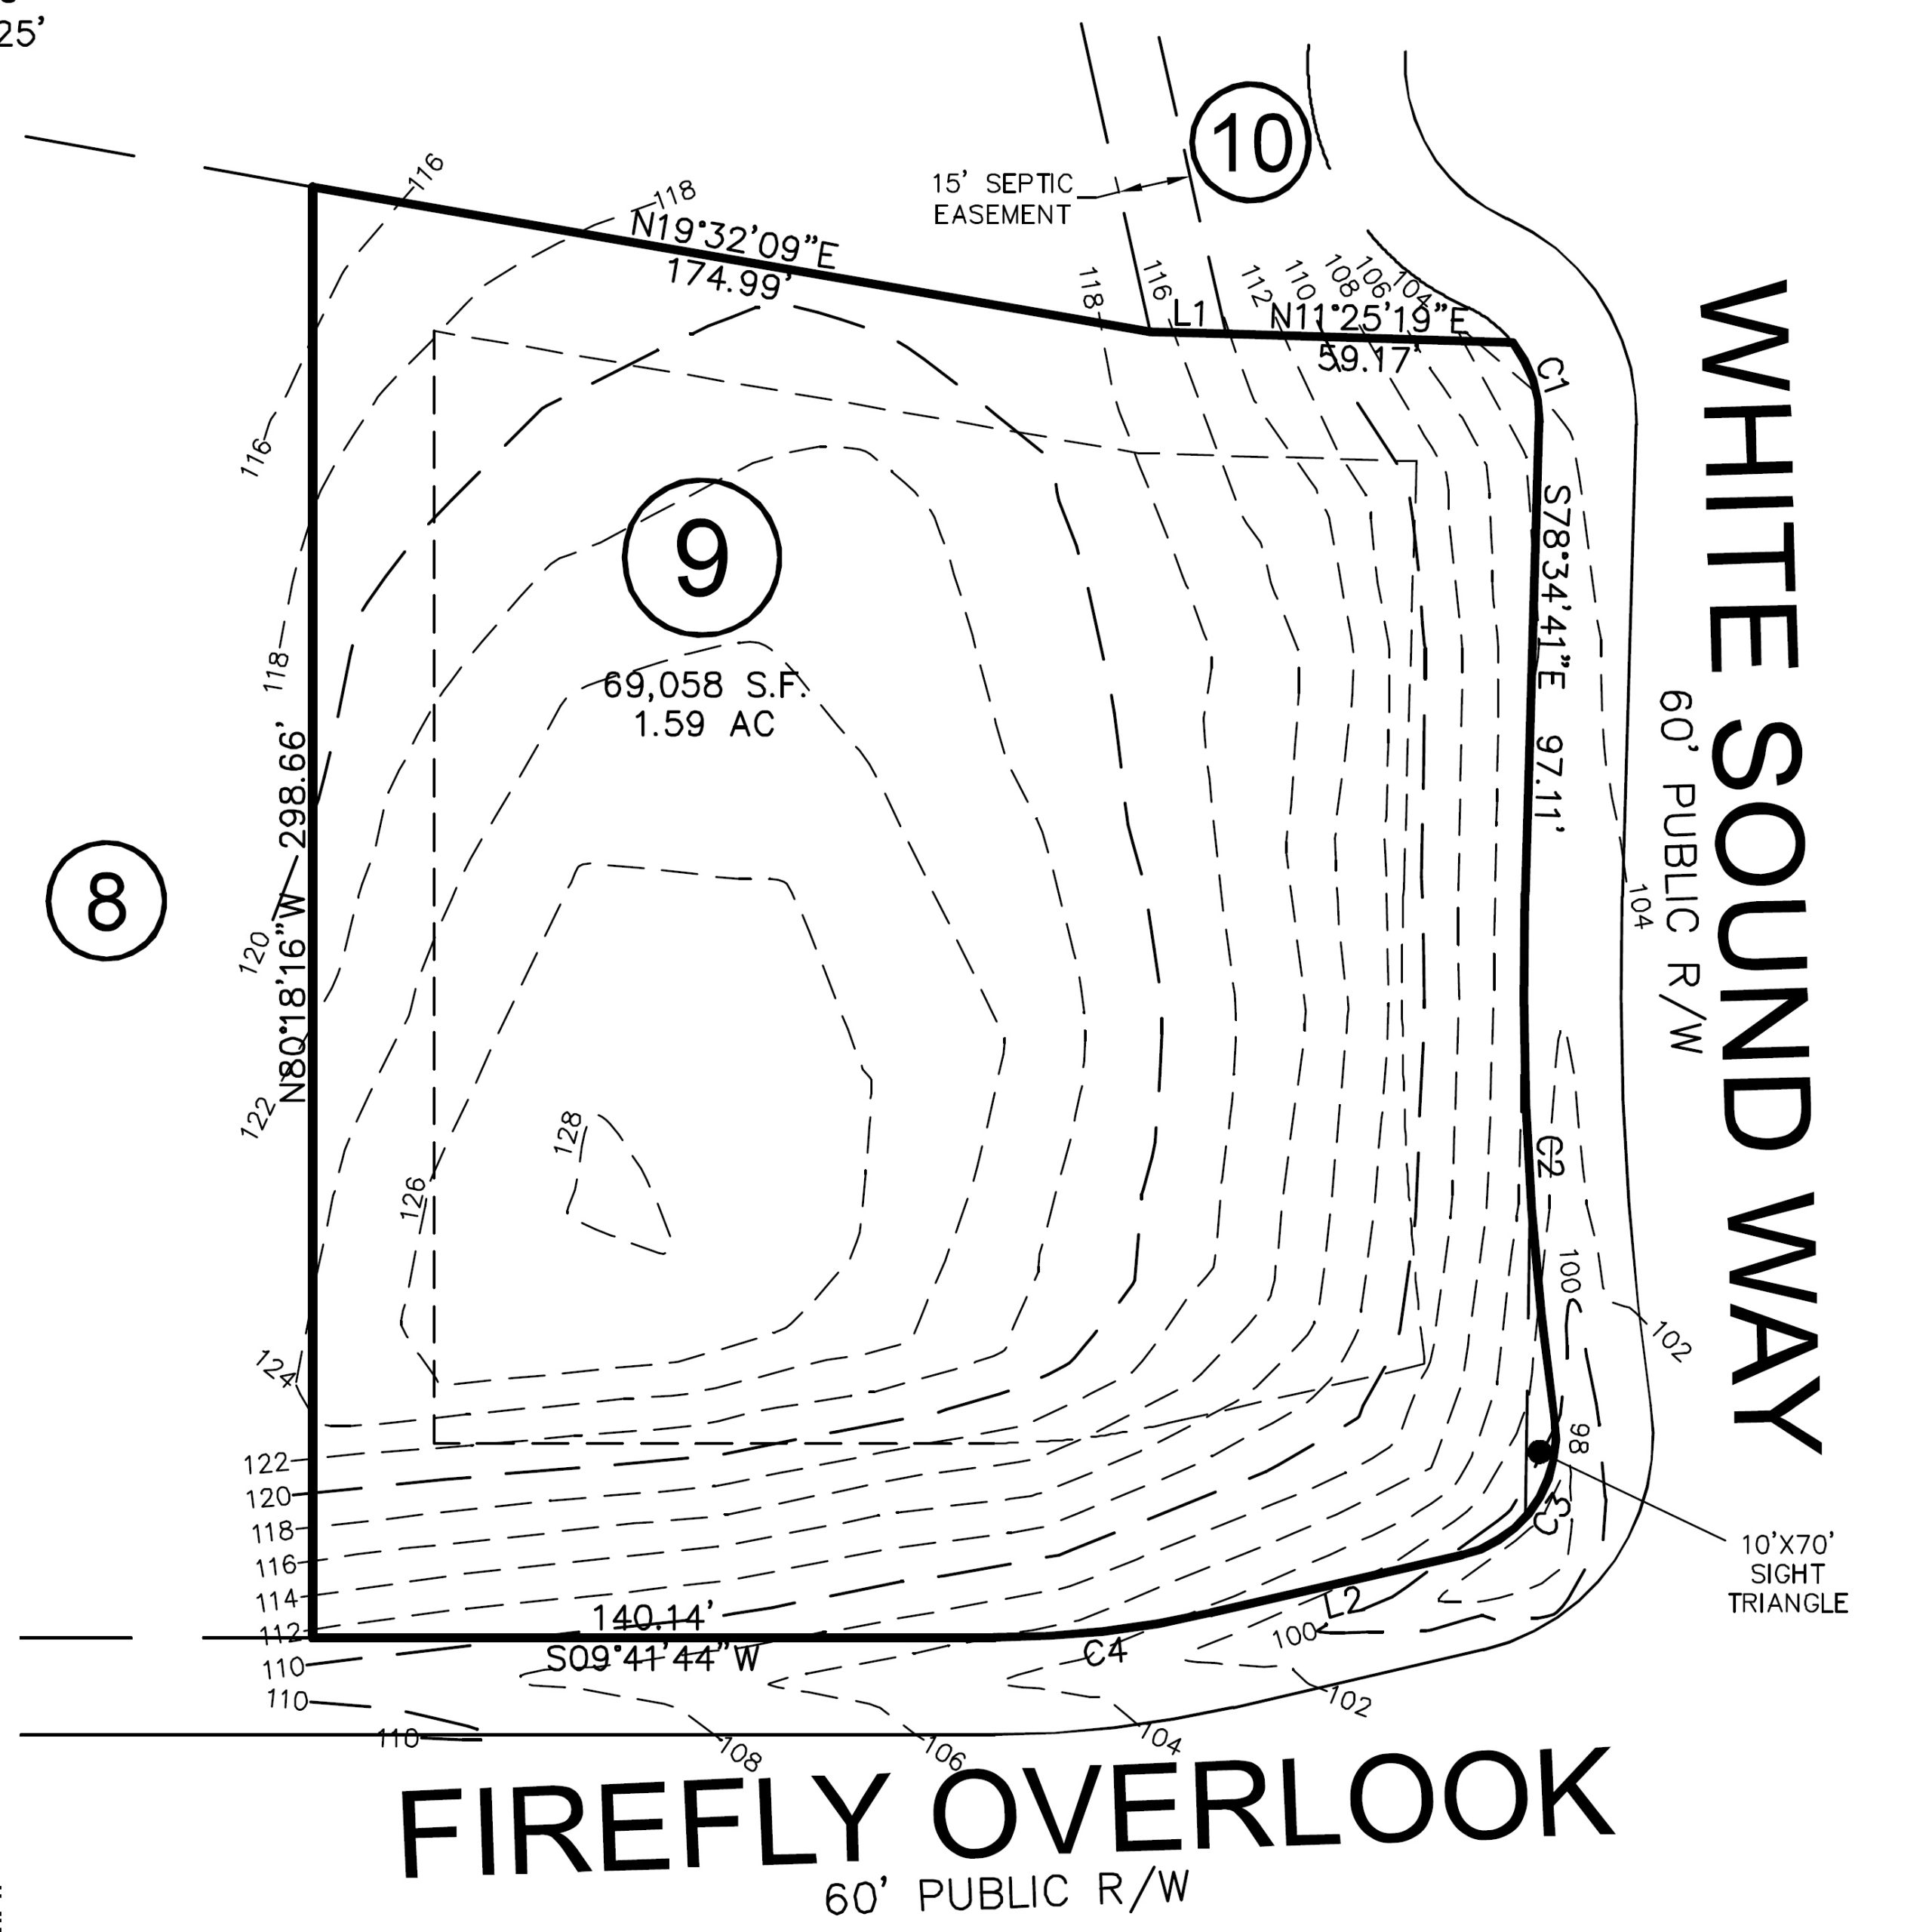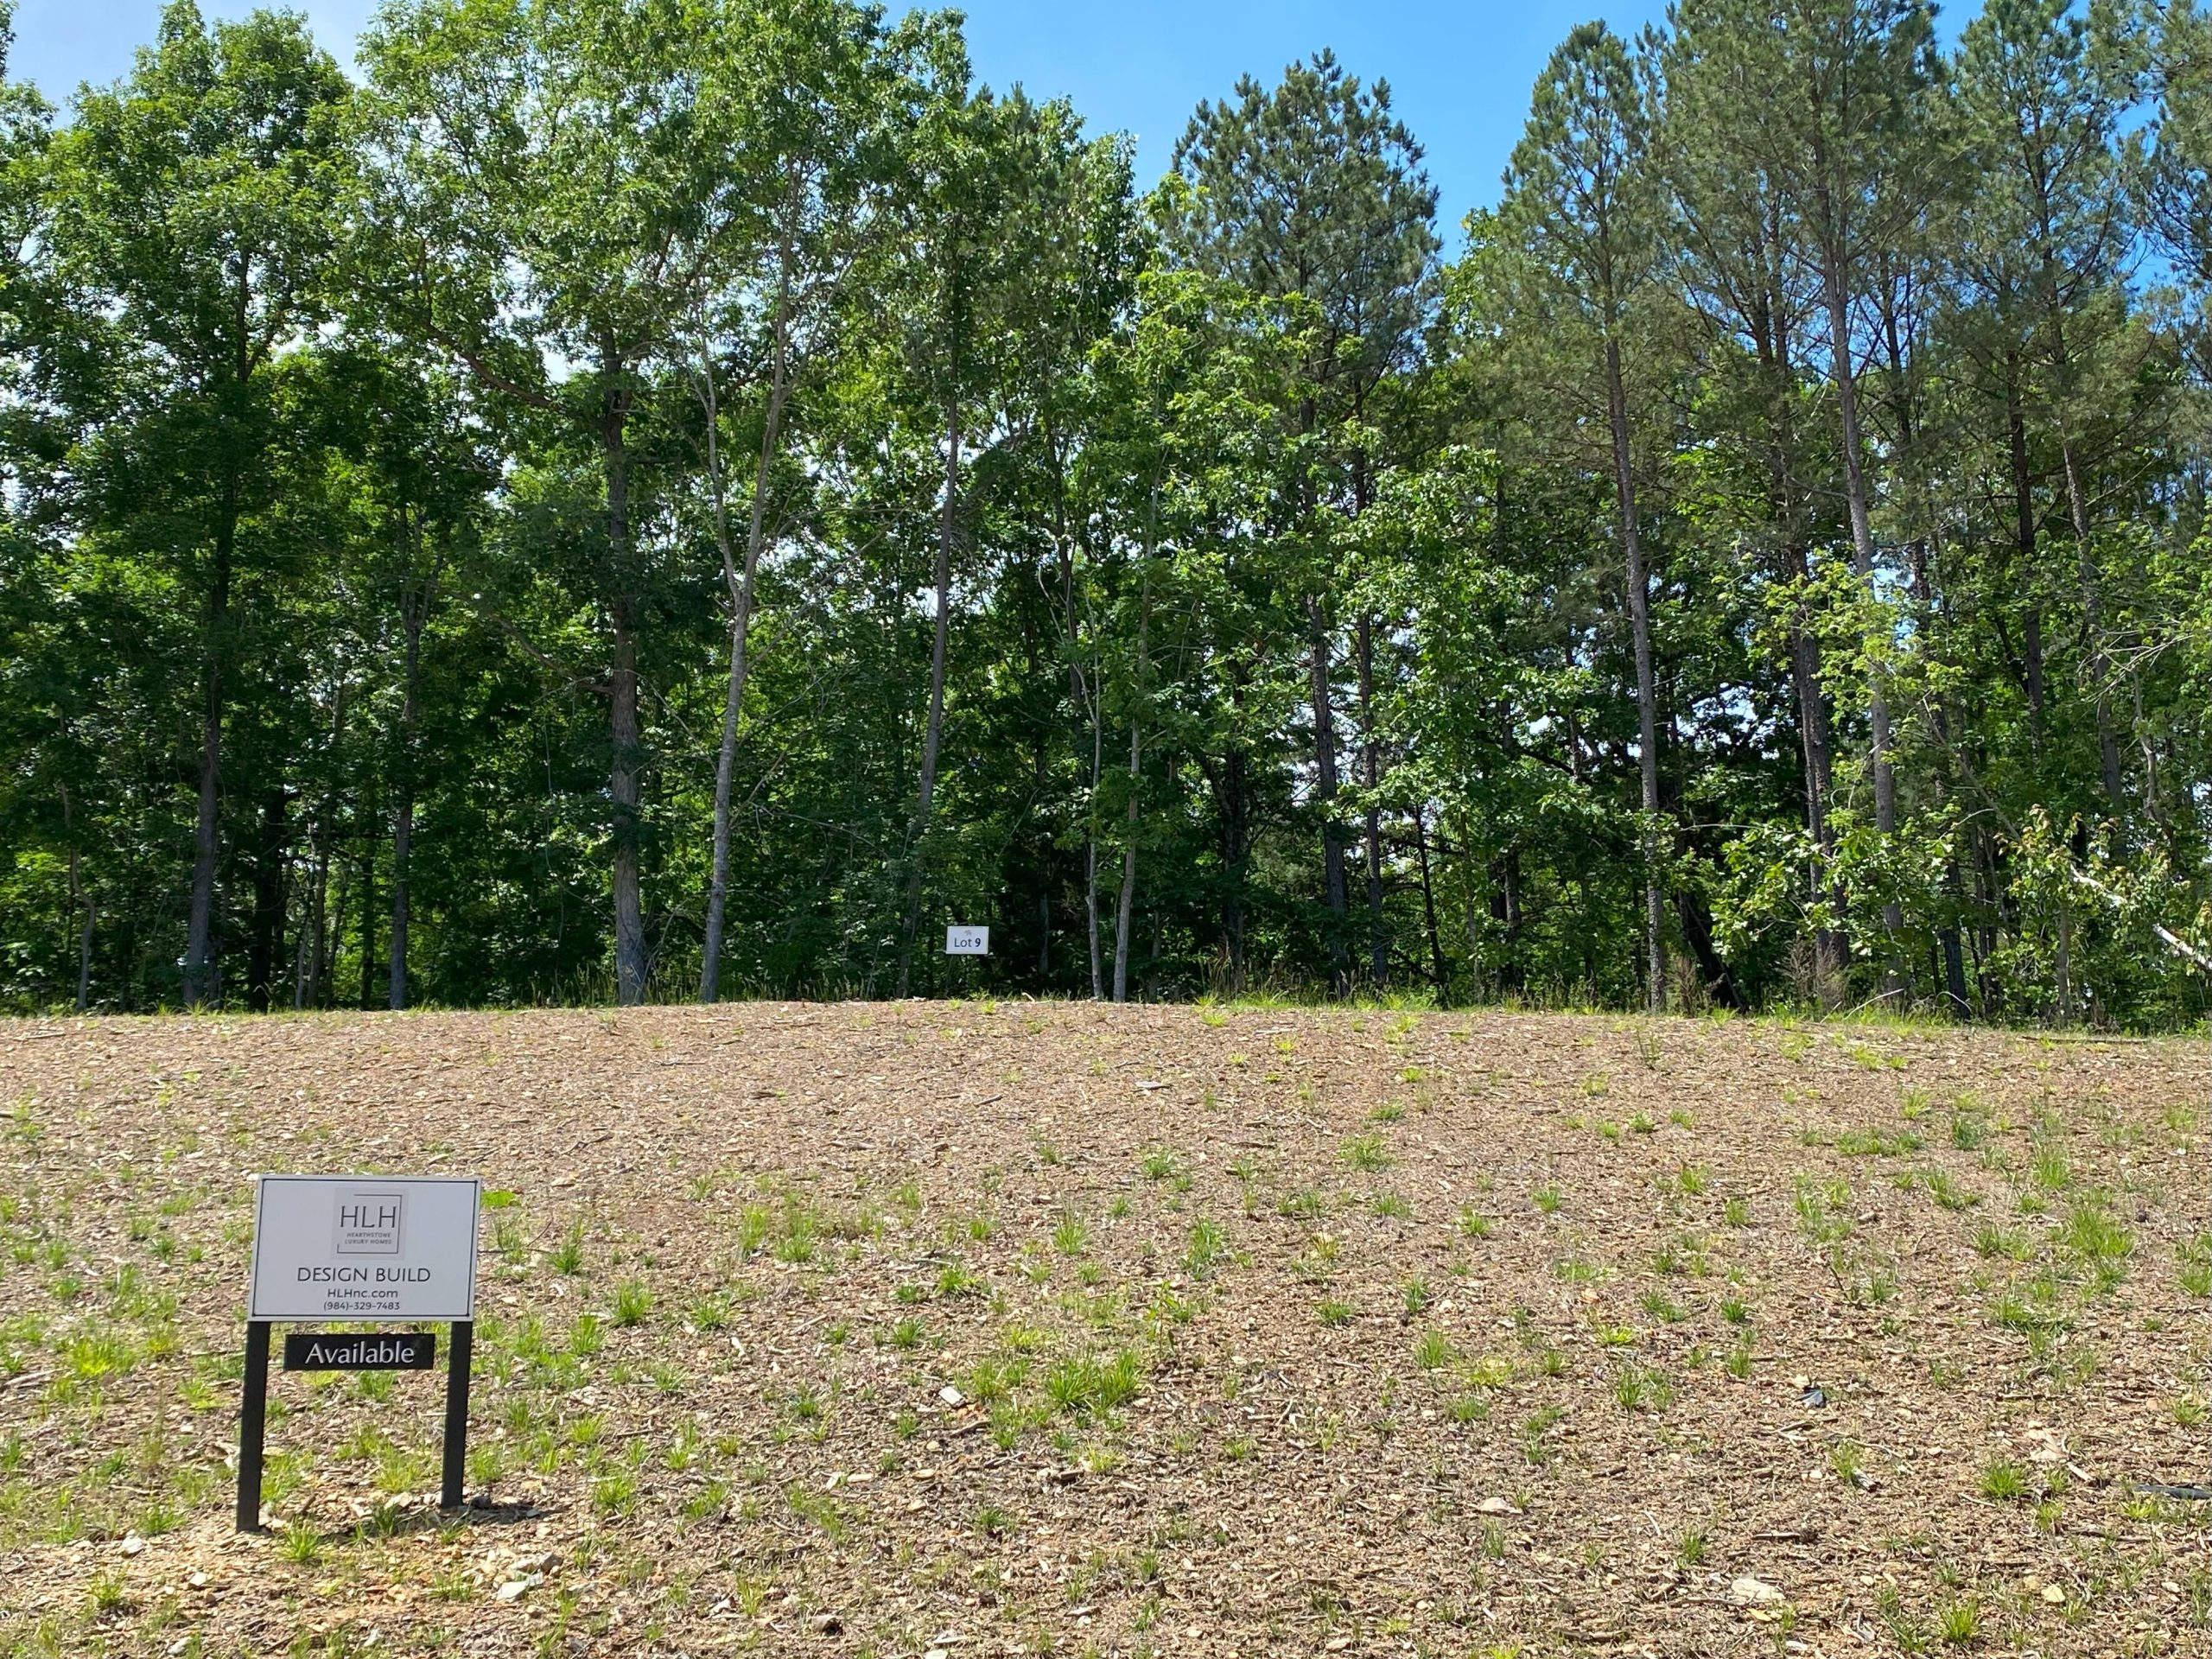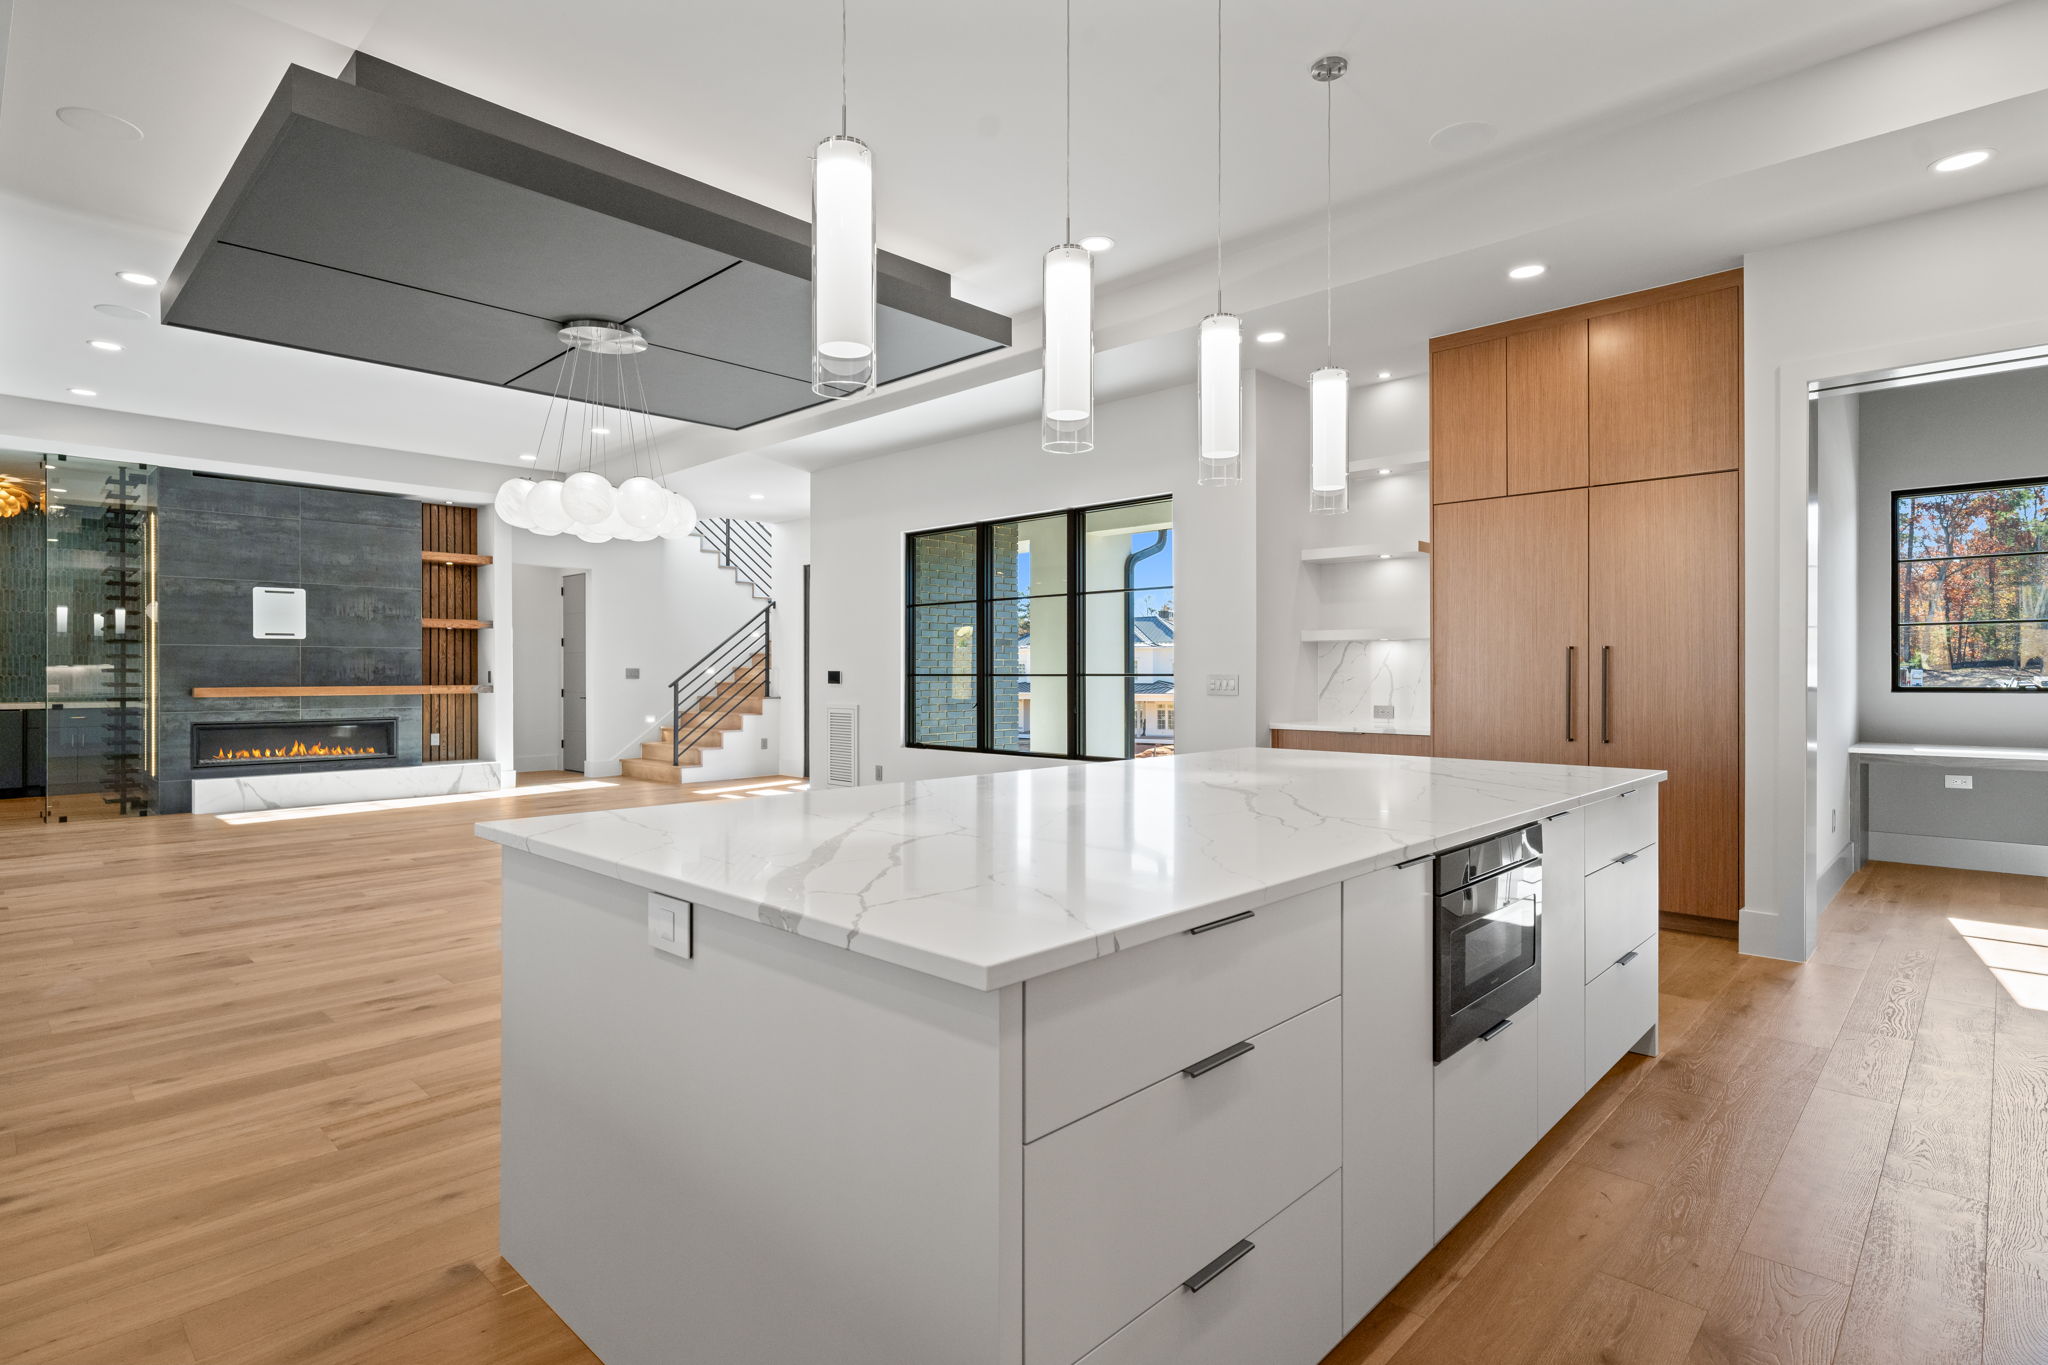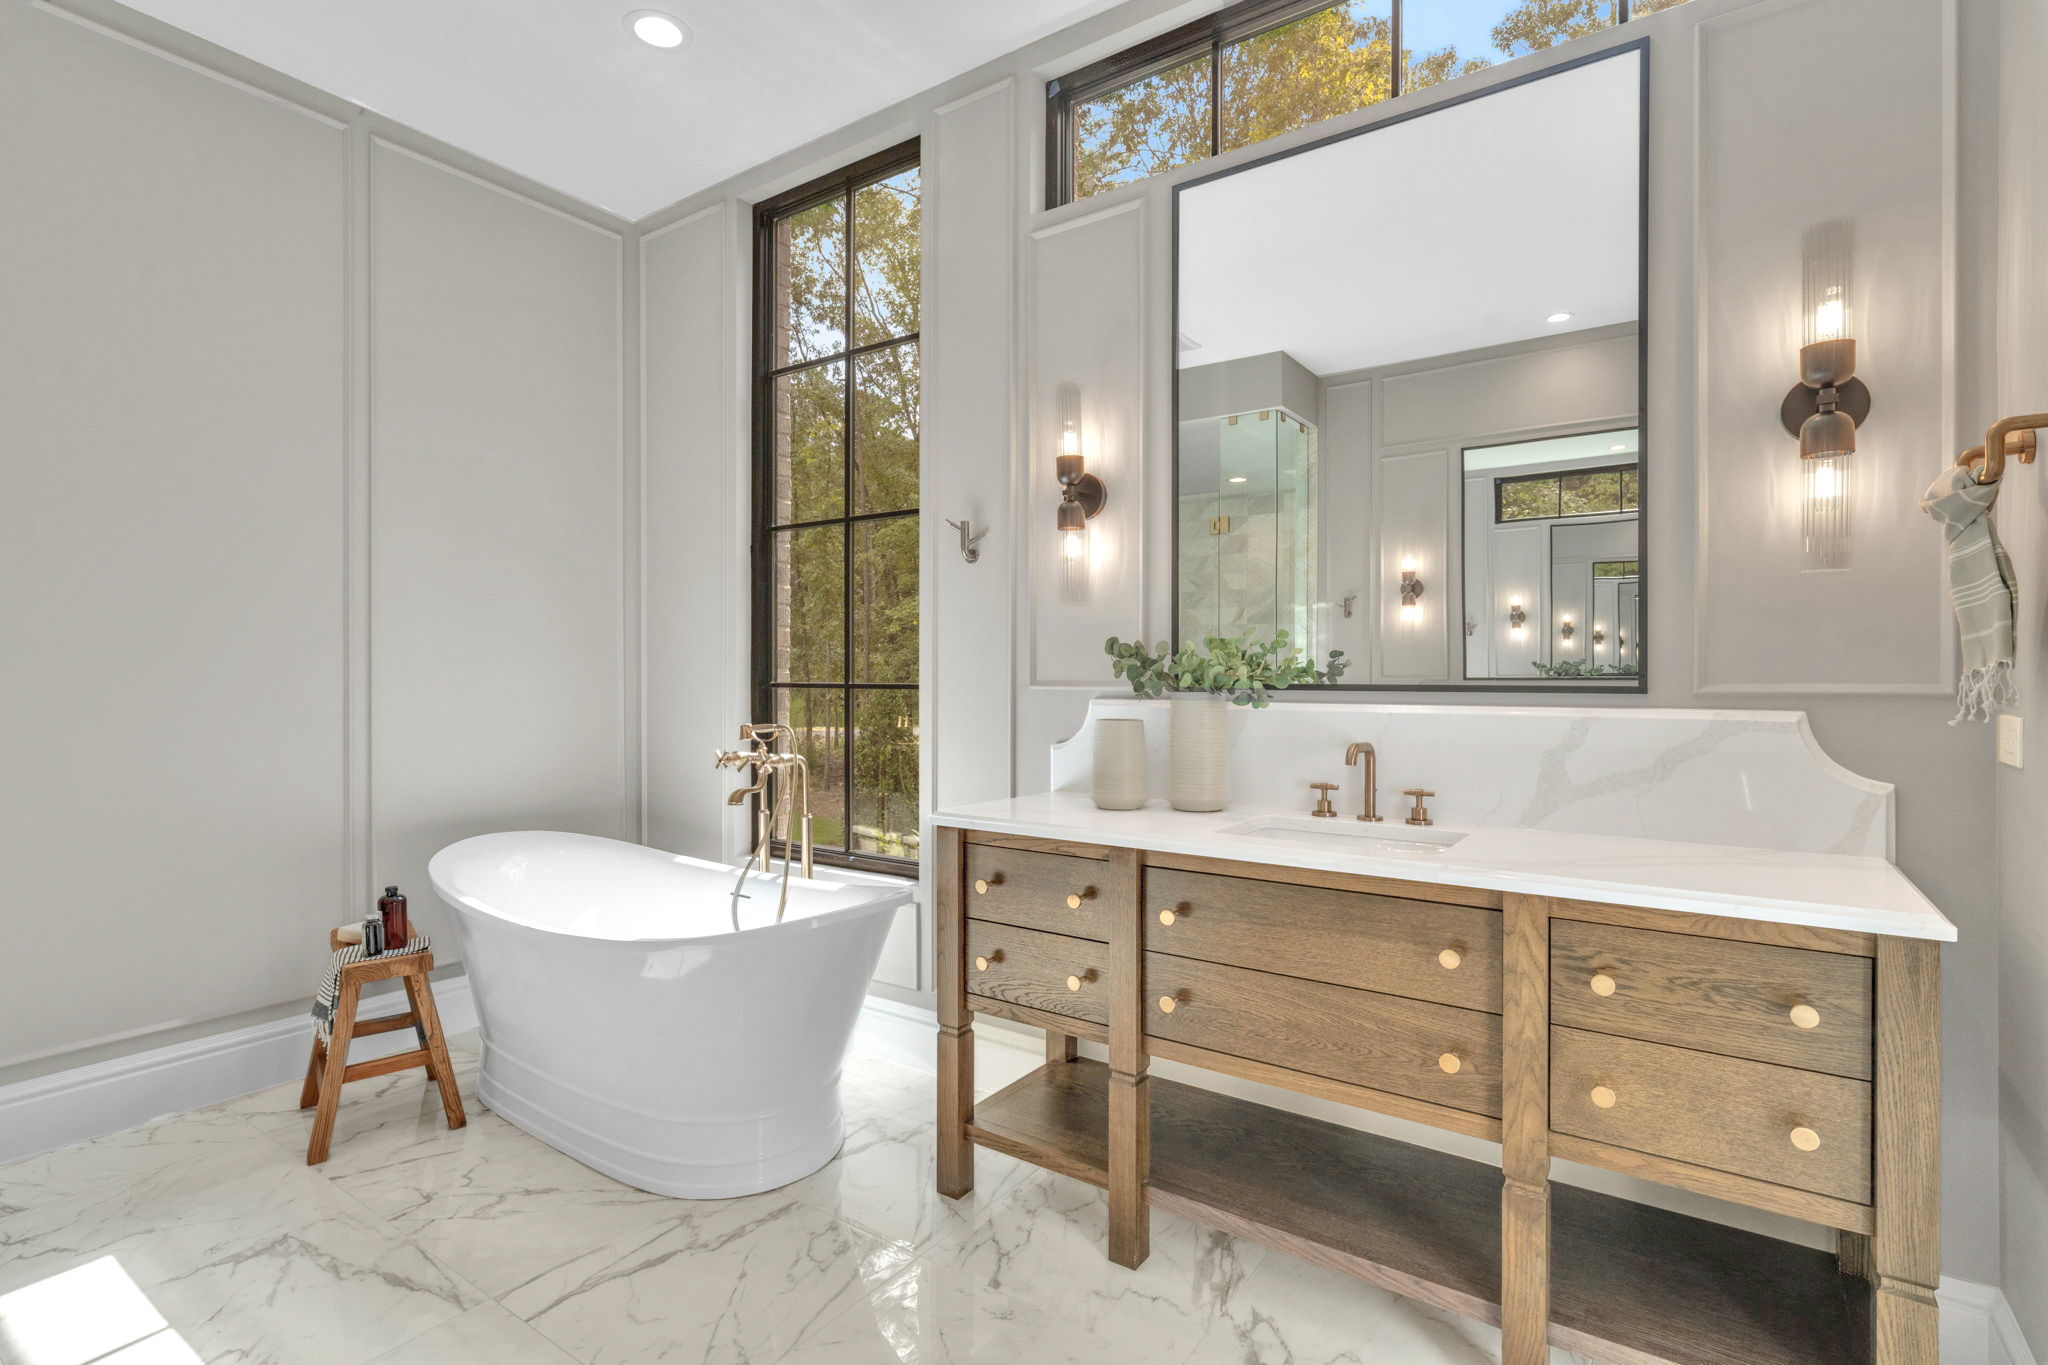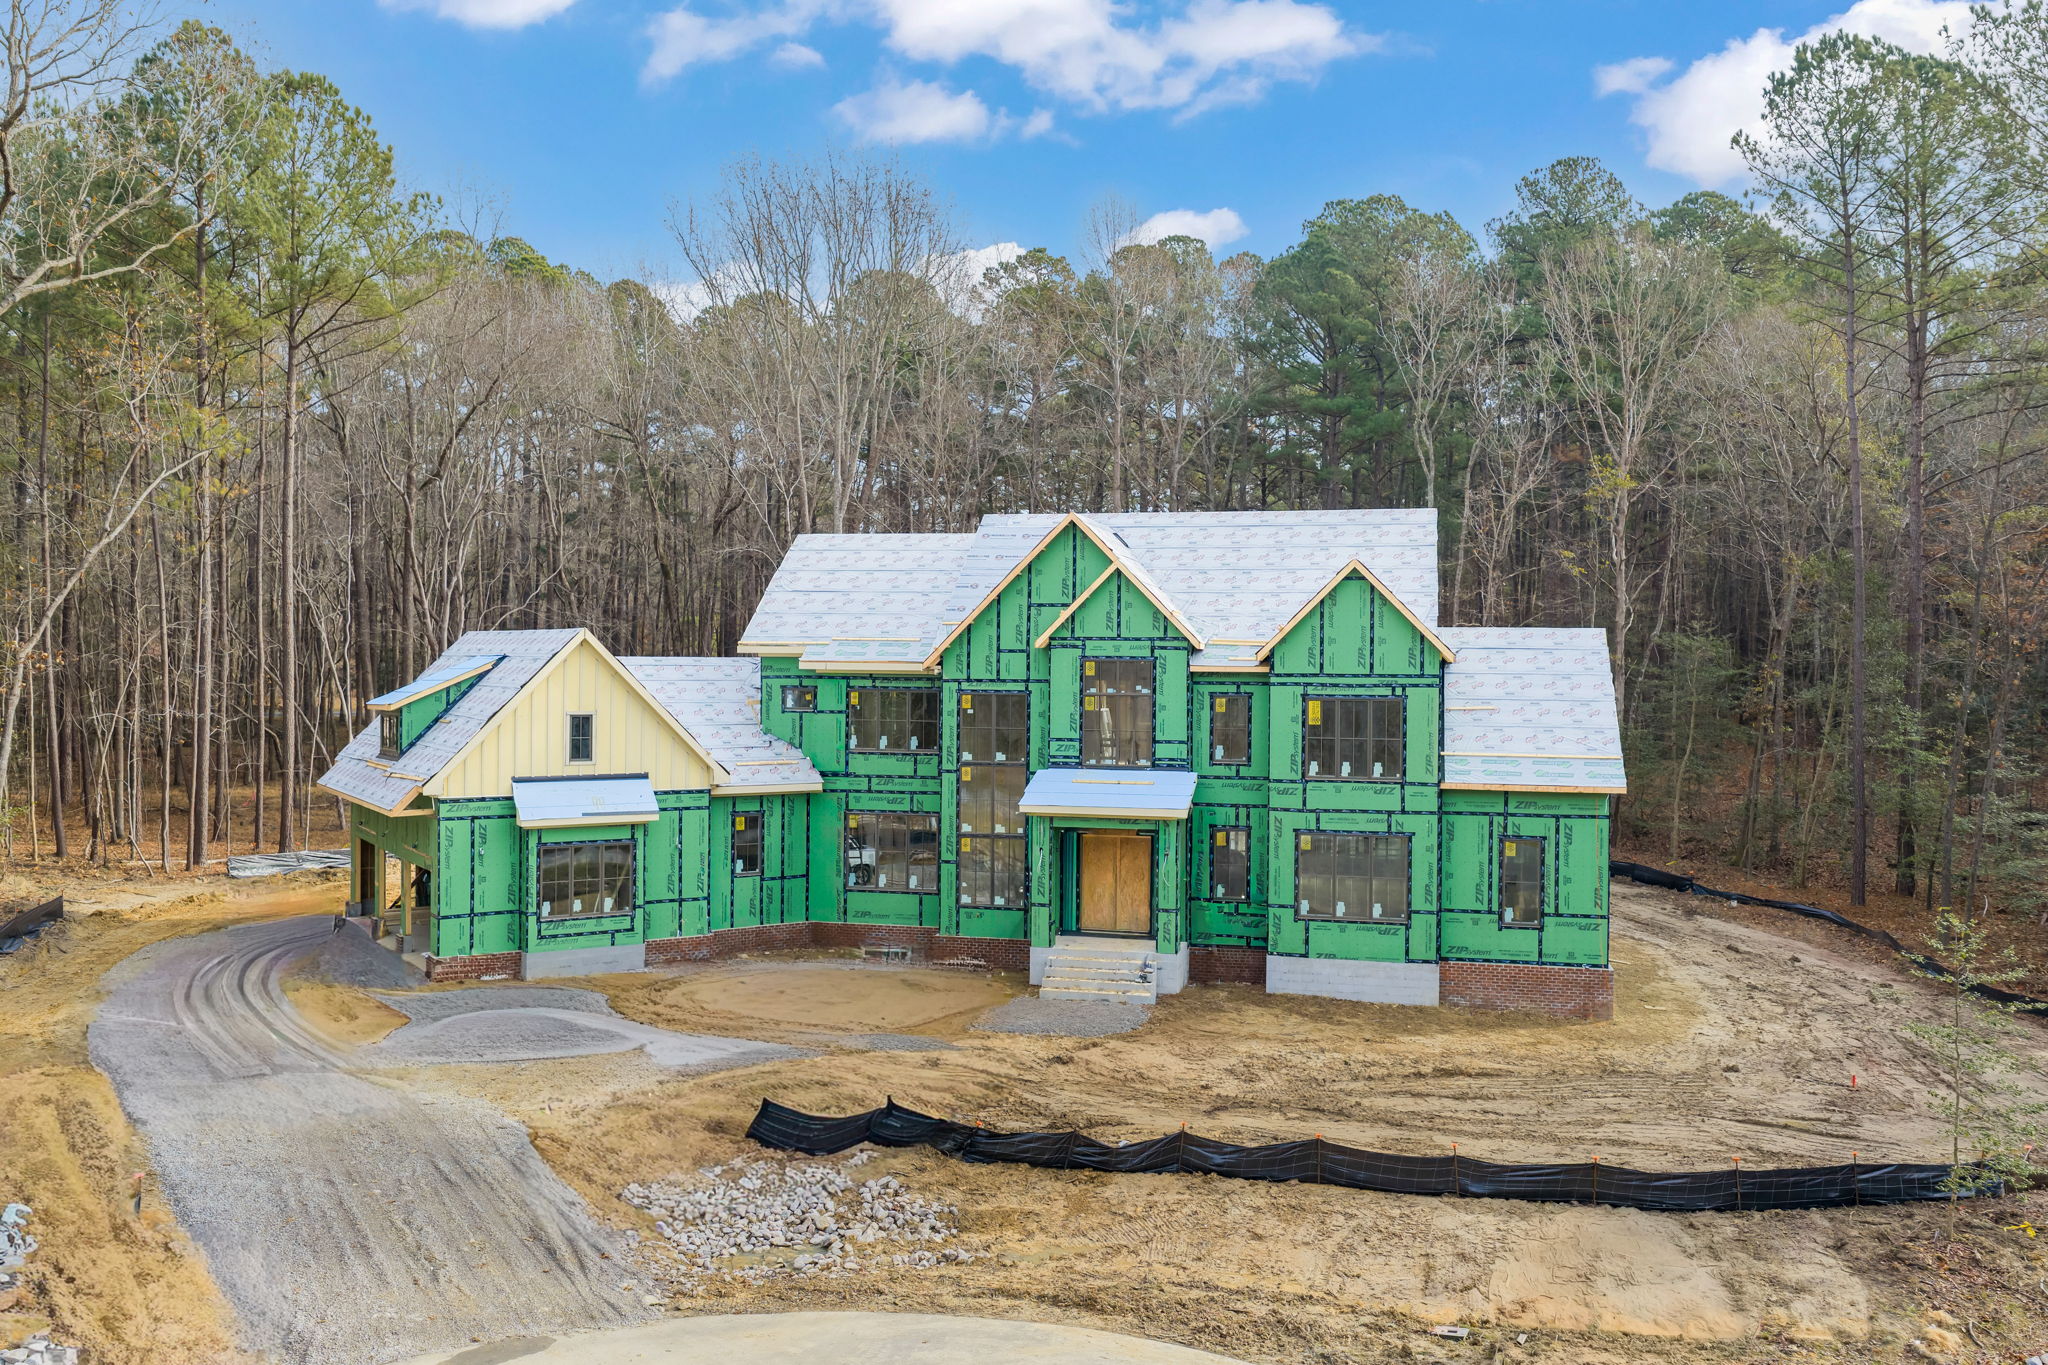
Everything starts with the homesite. Whether you already own your own lot, are looking for a lot, or want to build on a lot that Hearthstone already owns, the homesite really dictates the design of the home.
We see ourselves as customer-centric, not community-centric. We want to build where you want to live and we really enjoy building on properties our clients own.
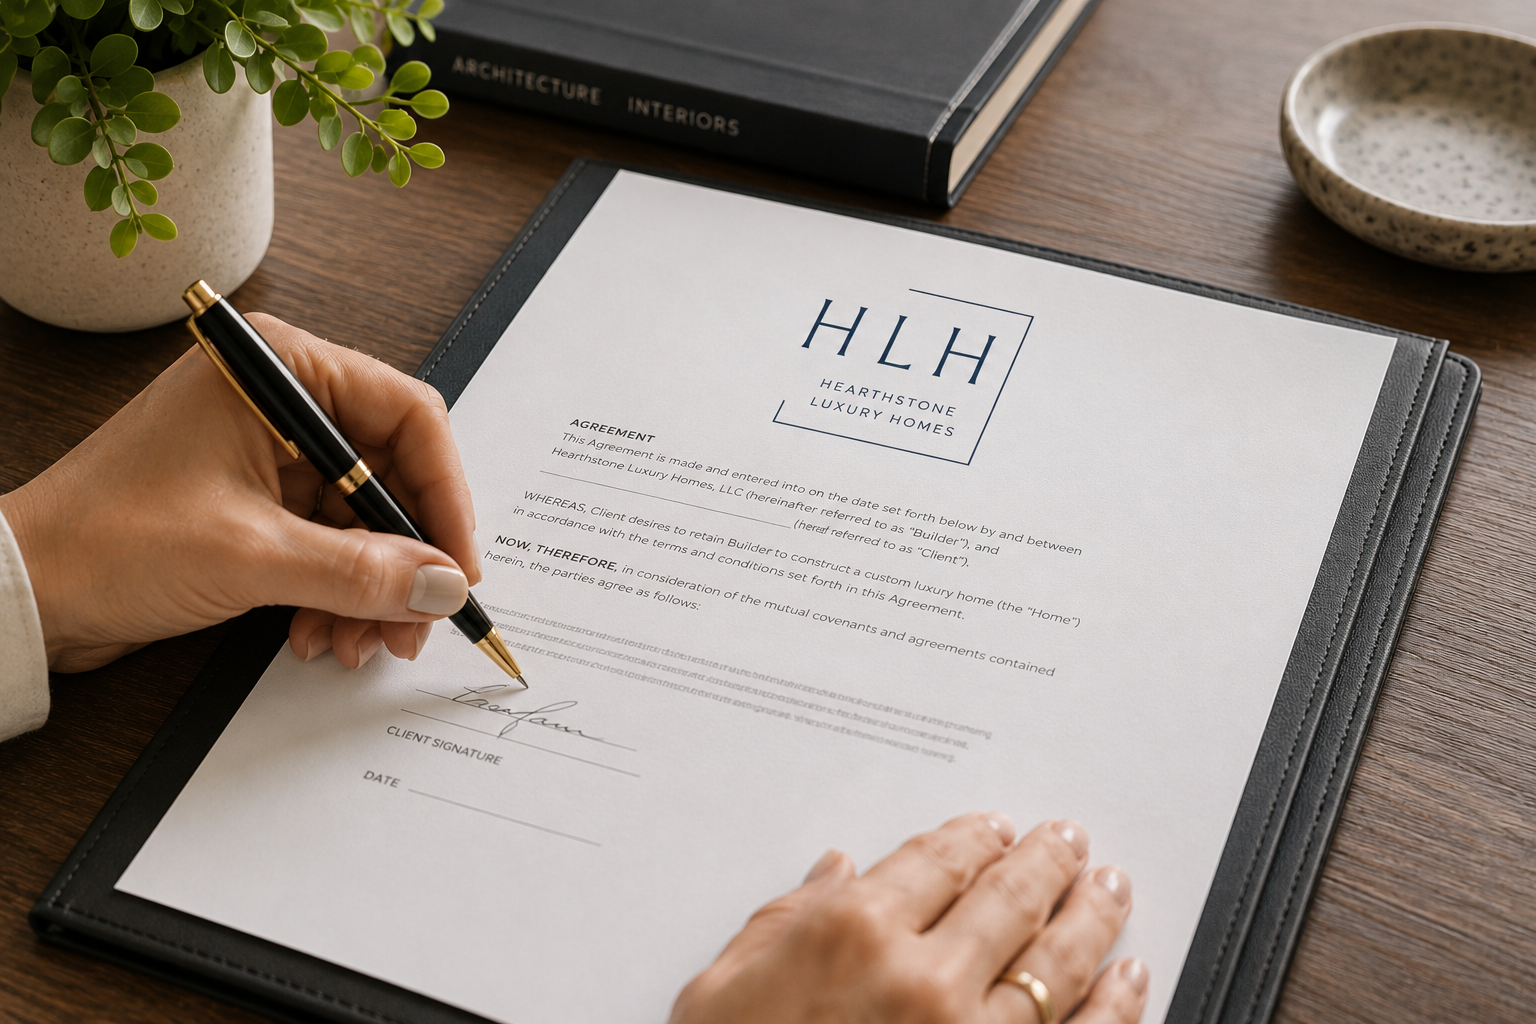
If you want to secure one of our homesites, we have a lot hold process that goes hand-in-hand with our Design Agreement.
Once we sign a Design Agreement, the Architectural Design process can begin.
Uniquely, we have our own in-house architectural team. The home design process starts with a conversation with us and our architectural design team, usually over Zoom. You’ll describe how you live in the home, the kinds of spaces you’re looking for, and within 3-5 business days, we’ll generate the first iteration of your plan from scratch.
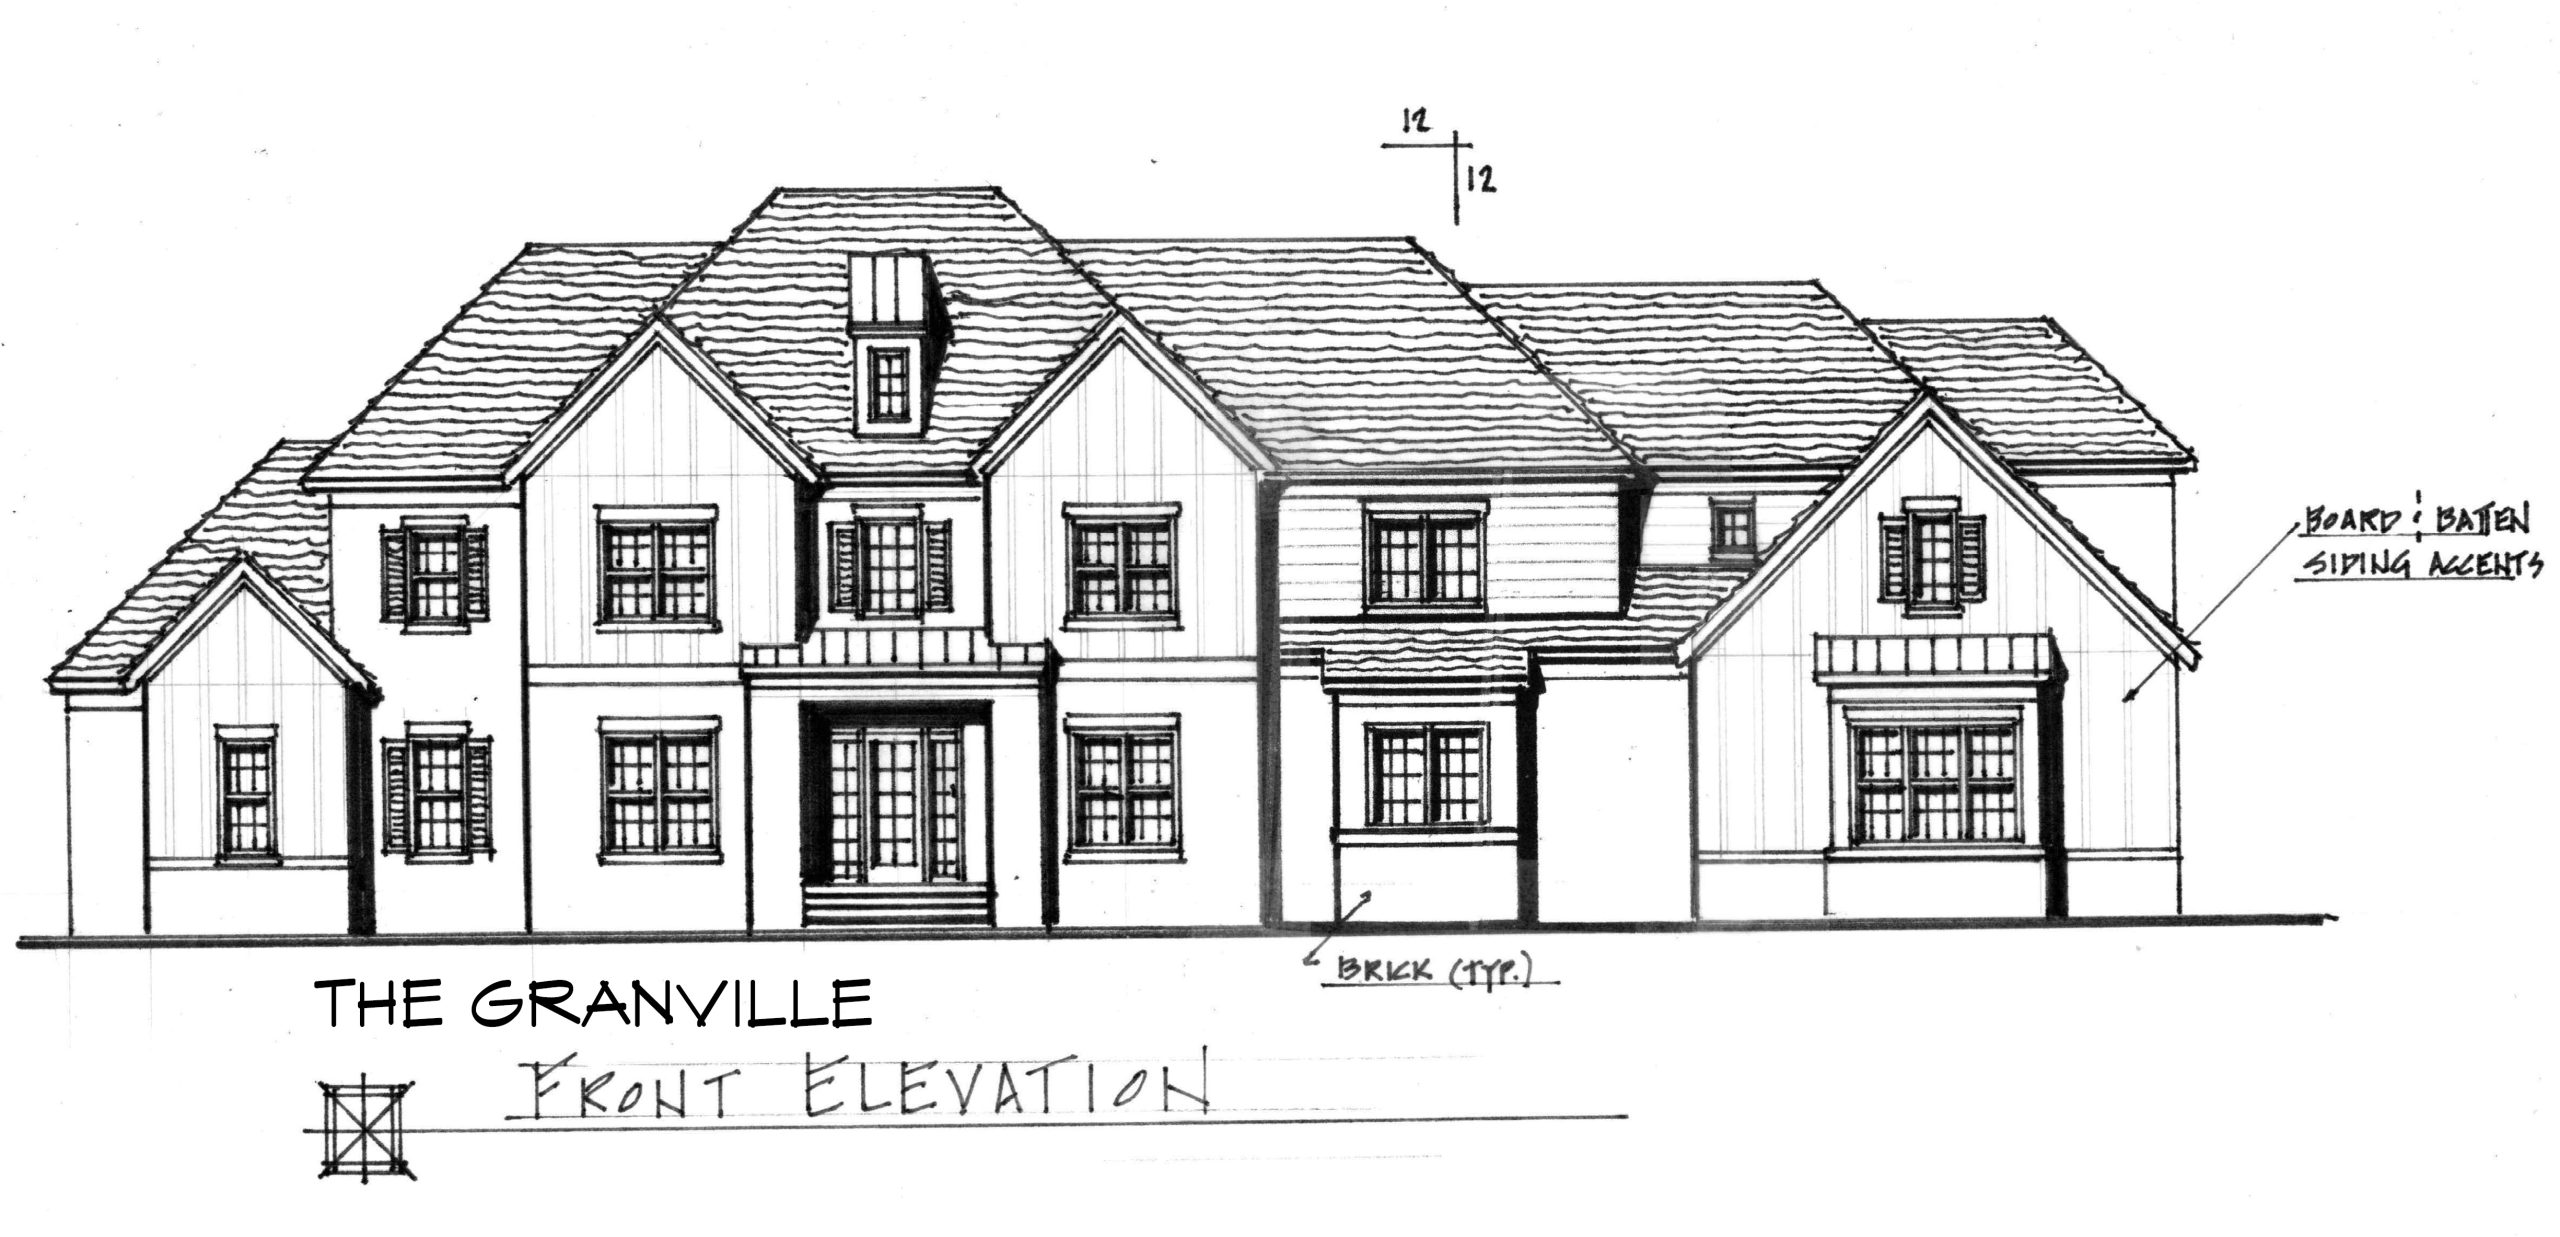
We have a very efficient, fully custom design process that starts by hand, in ink, from our Director of Design. After we get the ergonomics of the floor plan to your satisfaction, we move to the exterior design. Form follows function, and we’ll apply your desired exterior styling to the ergonomics of your floor plan.
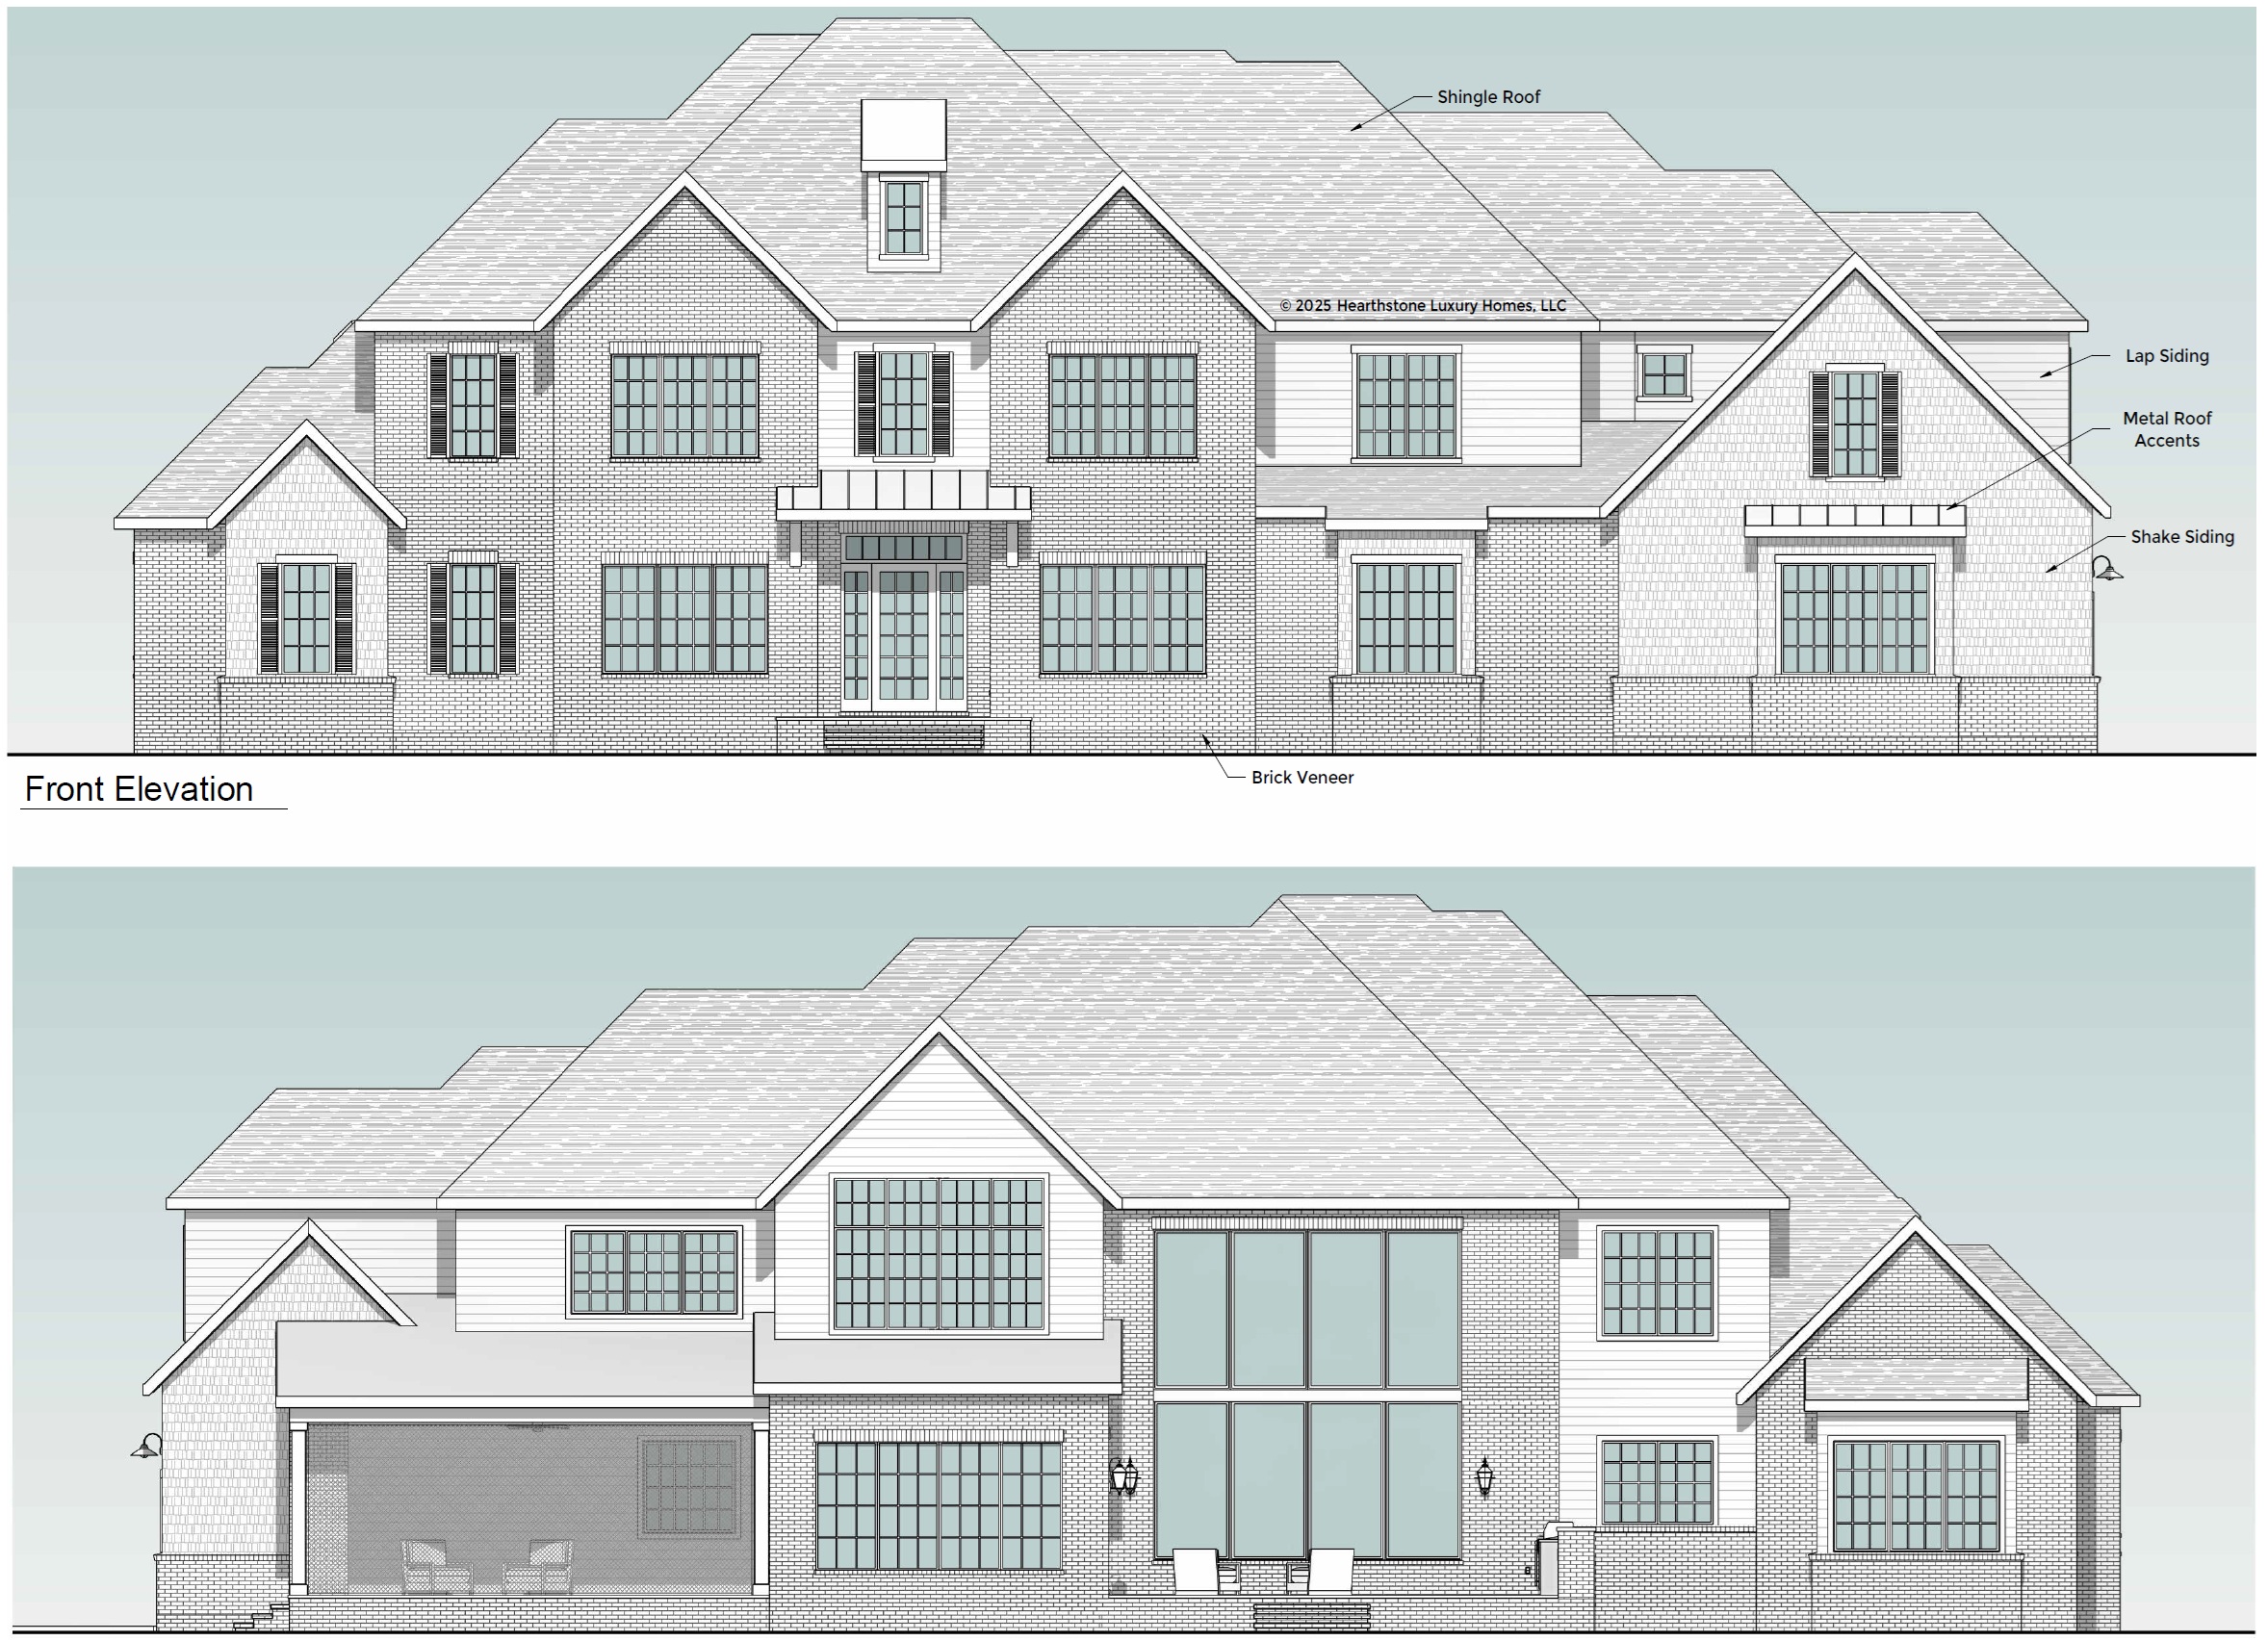
Once the plan is approved in sketch form, our architectural team then take the plan digital, where we’re able to dial in the dimensions very precisely, and including furniture placement. This culminates with a Design Development set of plans that shows all floor layouts, and all sides of the exterior of the home.
As we’re designing the home, each step of the way, we’re creating a site plan for each iteration, to ensure the location of the home is optimized for the property it’s going to be built on.
Once the Design Development set is approved, we work up a detailed cost estimate for the project.
Based on the wishes of our clients, we handle the cost estimate and pricing in one of two ways.
First is a fixed price agreement that includes detailed allowances for the things you select and ultimately control. These would be things like plumbing fixtures, cabinetry, tile, and other finishes.
Alternately, for clients who want ultimate flexibility and transparency, we can instead work under an open-book, cost-plus arrangement.
Many custom builders will force you into one path or the other. We, on the other hand, take the lead from our clients, what they’re most comfortable with and will adapt accordingly.
Regardless of the pricing path our clients decide, once we align on an approved cost estimate and scope of work, we’ll then sign a Building Agreement, moving us to the next phase.
After we’re under contract, we go to the next level of architectural detail when we move from the Design Development set into full working drawings.
Once the working drawings are completed, we perform a 3D Walkthrough with our clients and the in-house interior designer they’re going to be working with.
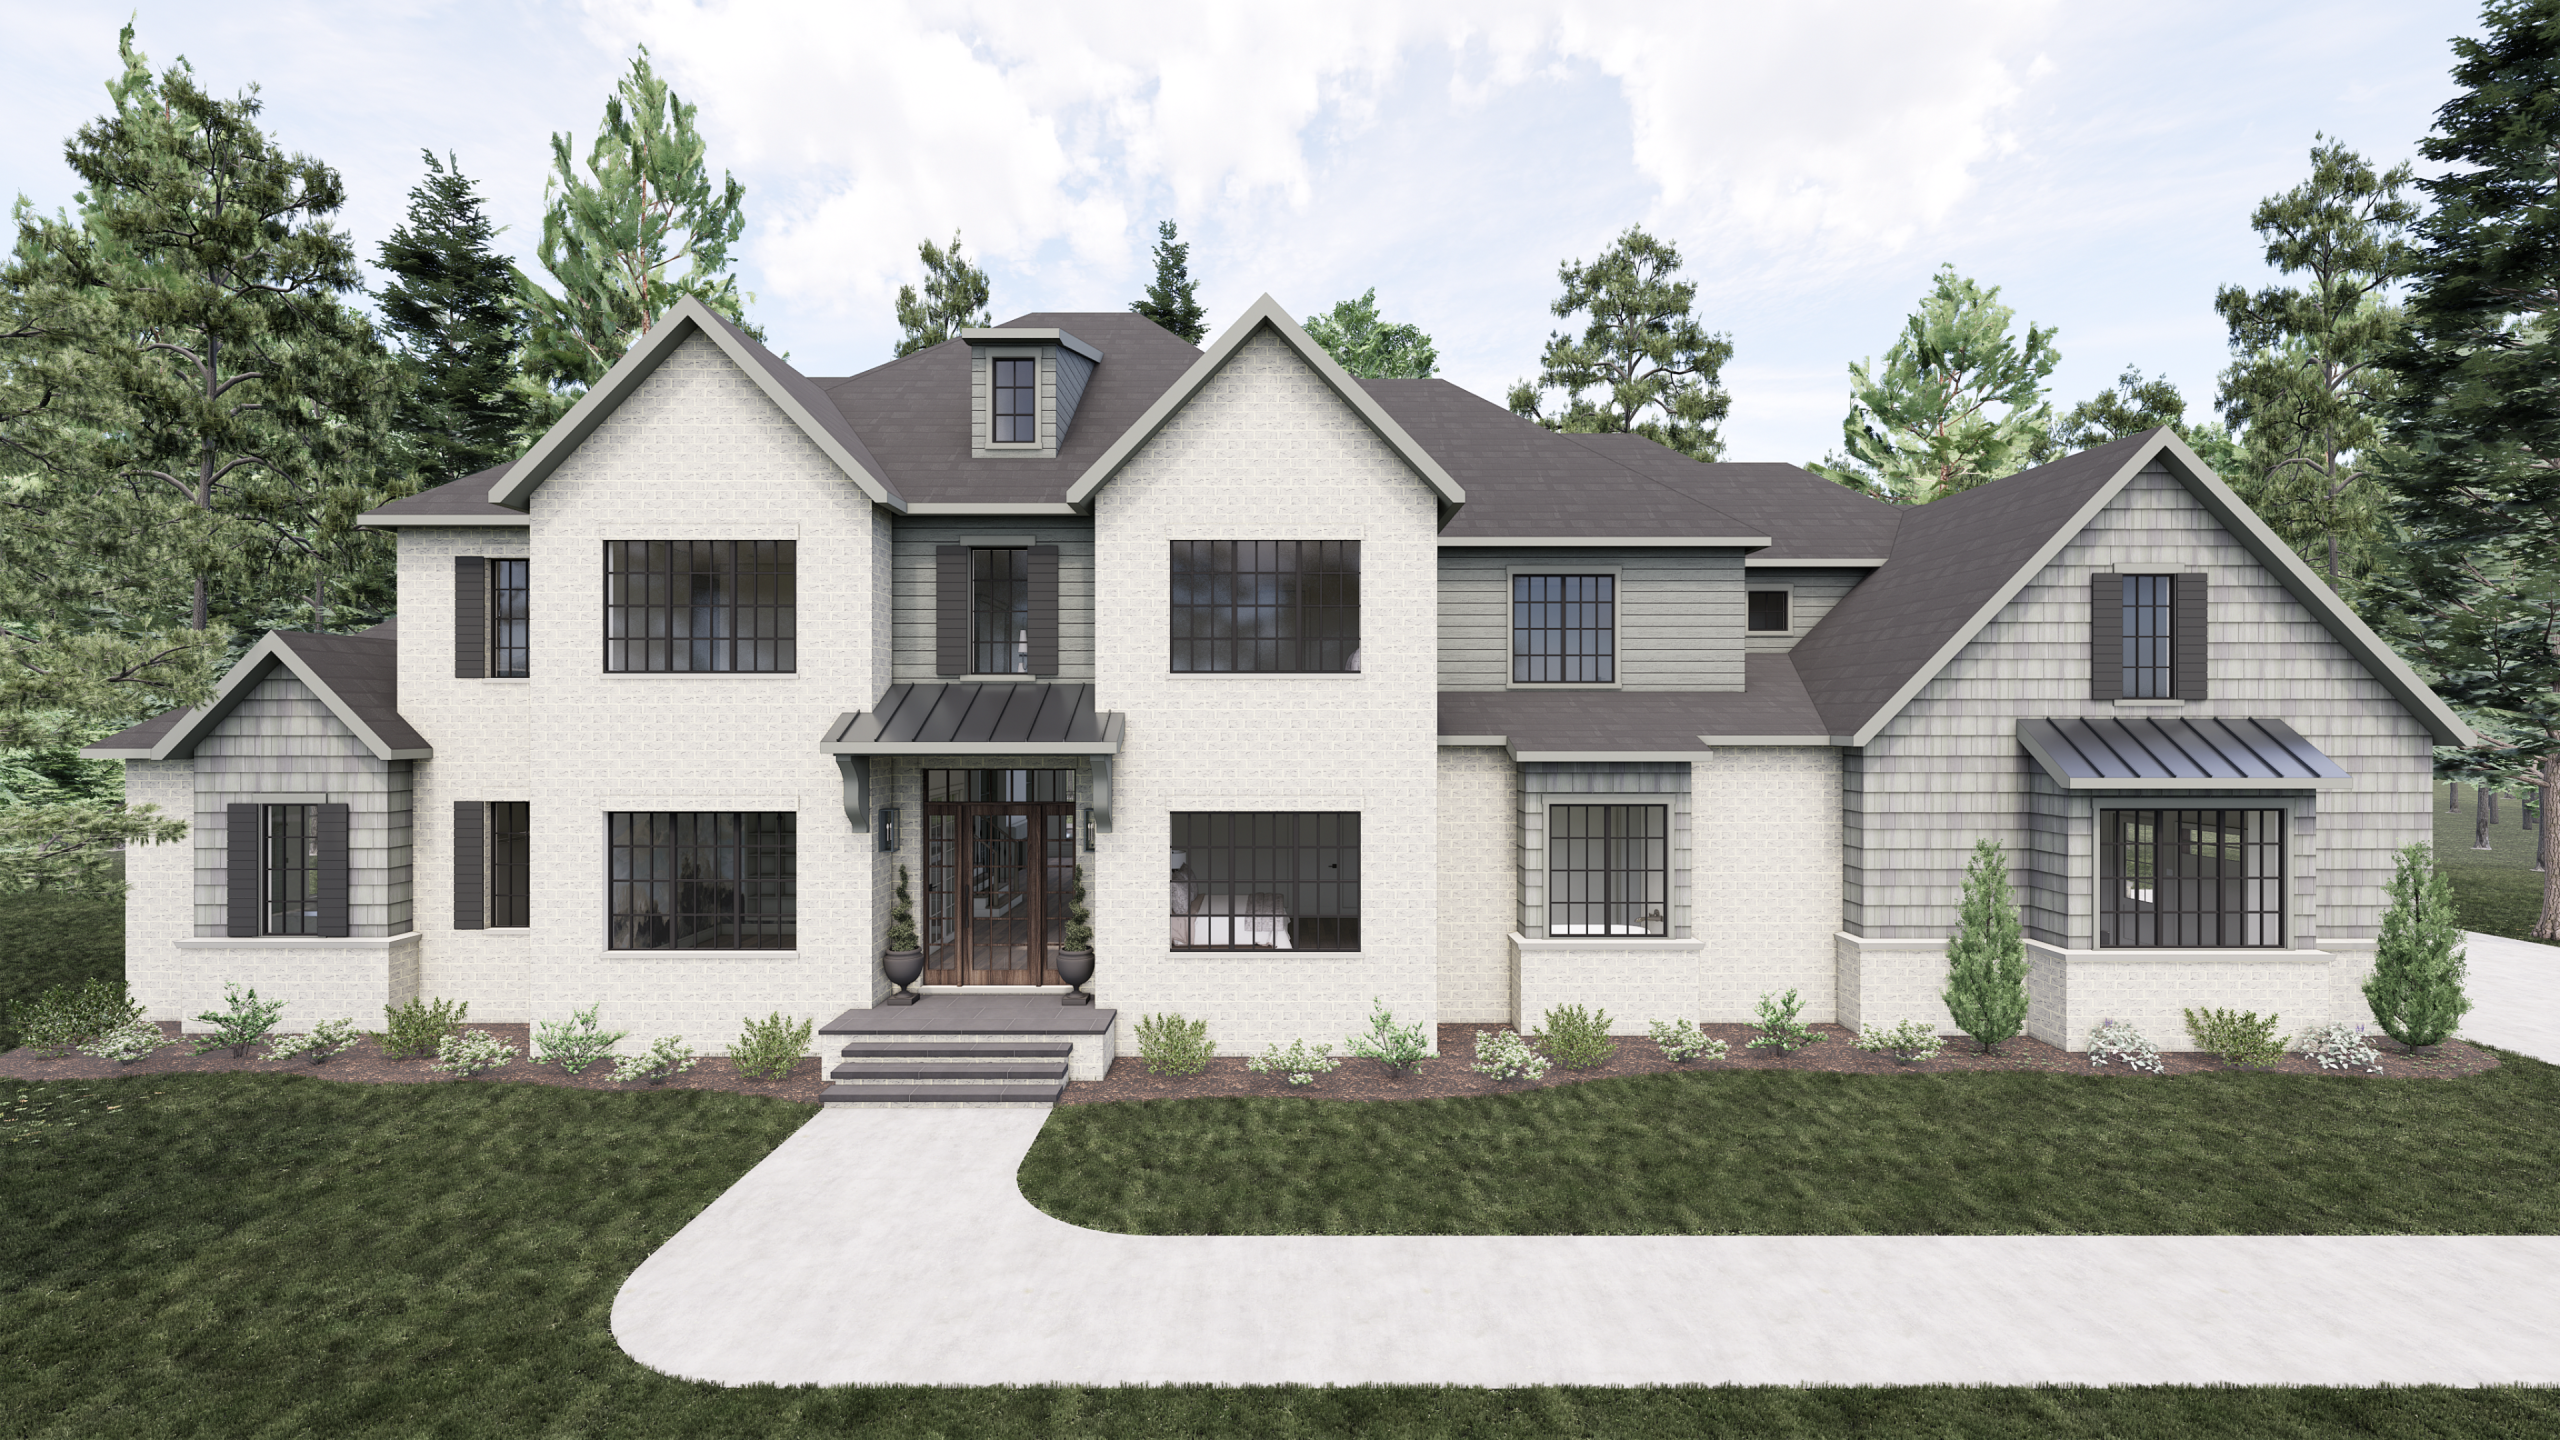
This allows us to virtually walk through the entire home inside and out, with the ability to focus on fine details, all before we ever start construction.
We and our clients love this part of the process. It can be very difficult to visualize things when looking at a set of plans in two dimensions. The 3D Walkthrough allows us and our clients to ensure we’re all on the same page and our expectations are aligned.
In virtually all cases, the 3D Walkthrough drives additional tweaks and improvements to the plan, as we’re all able to see the entire home together, before the home is built, catching the little details.
Once the client gives final approval of the plans, we move forward into engineering and permitting.
Once the plans are finalized, we proceed to Structural Engineering and Permitting processes.
Concurrently, we work with the client to finalize the site planning, engaging with our surveyor to stake the home on the site to confirm final location, tree clearing and grading strategy.
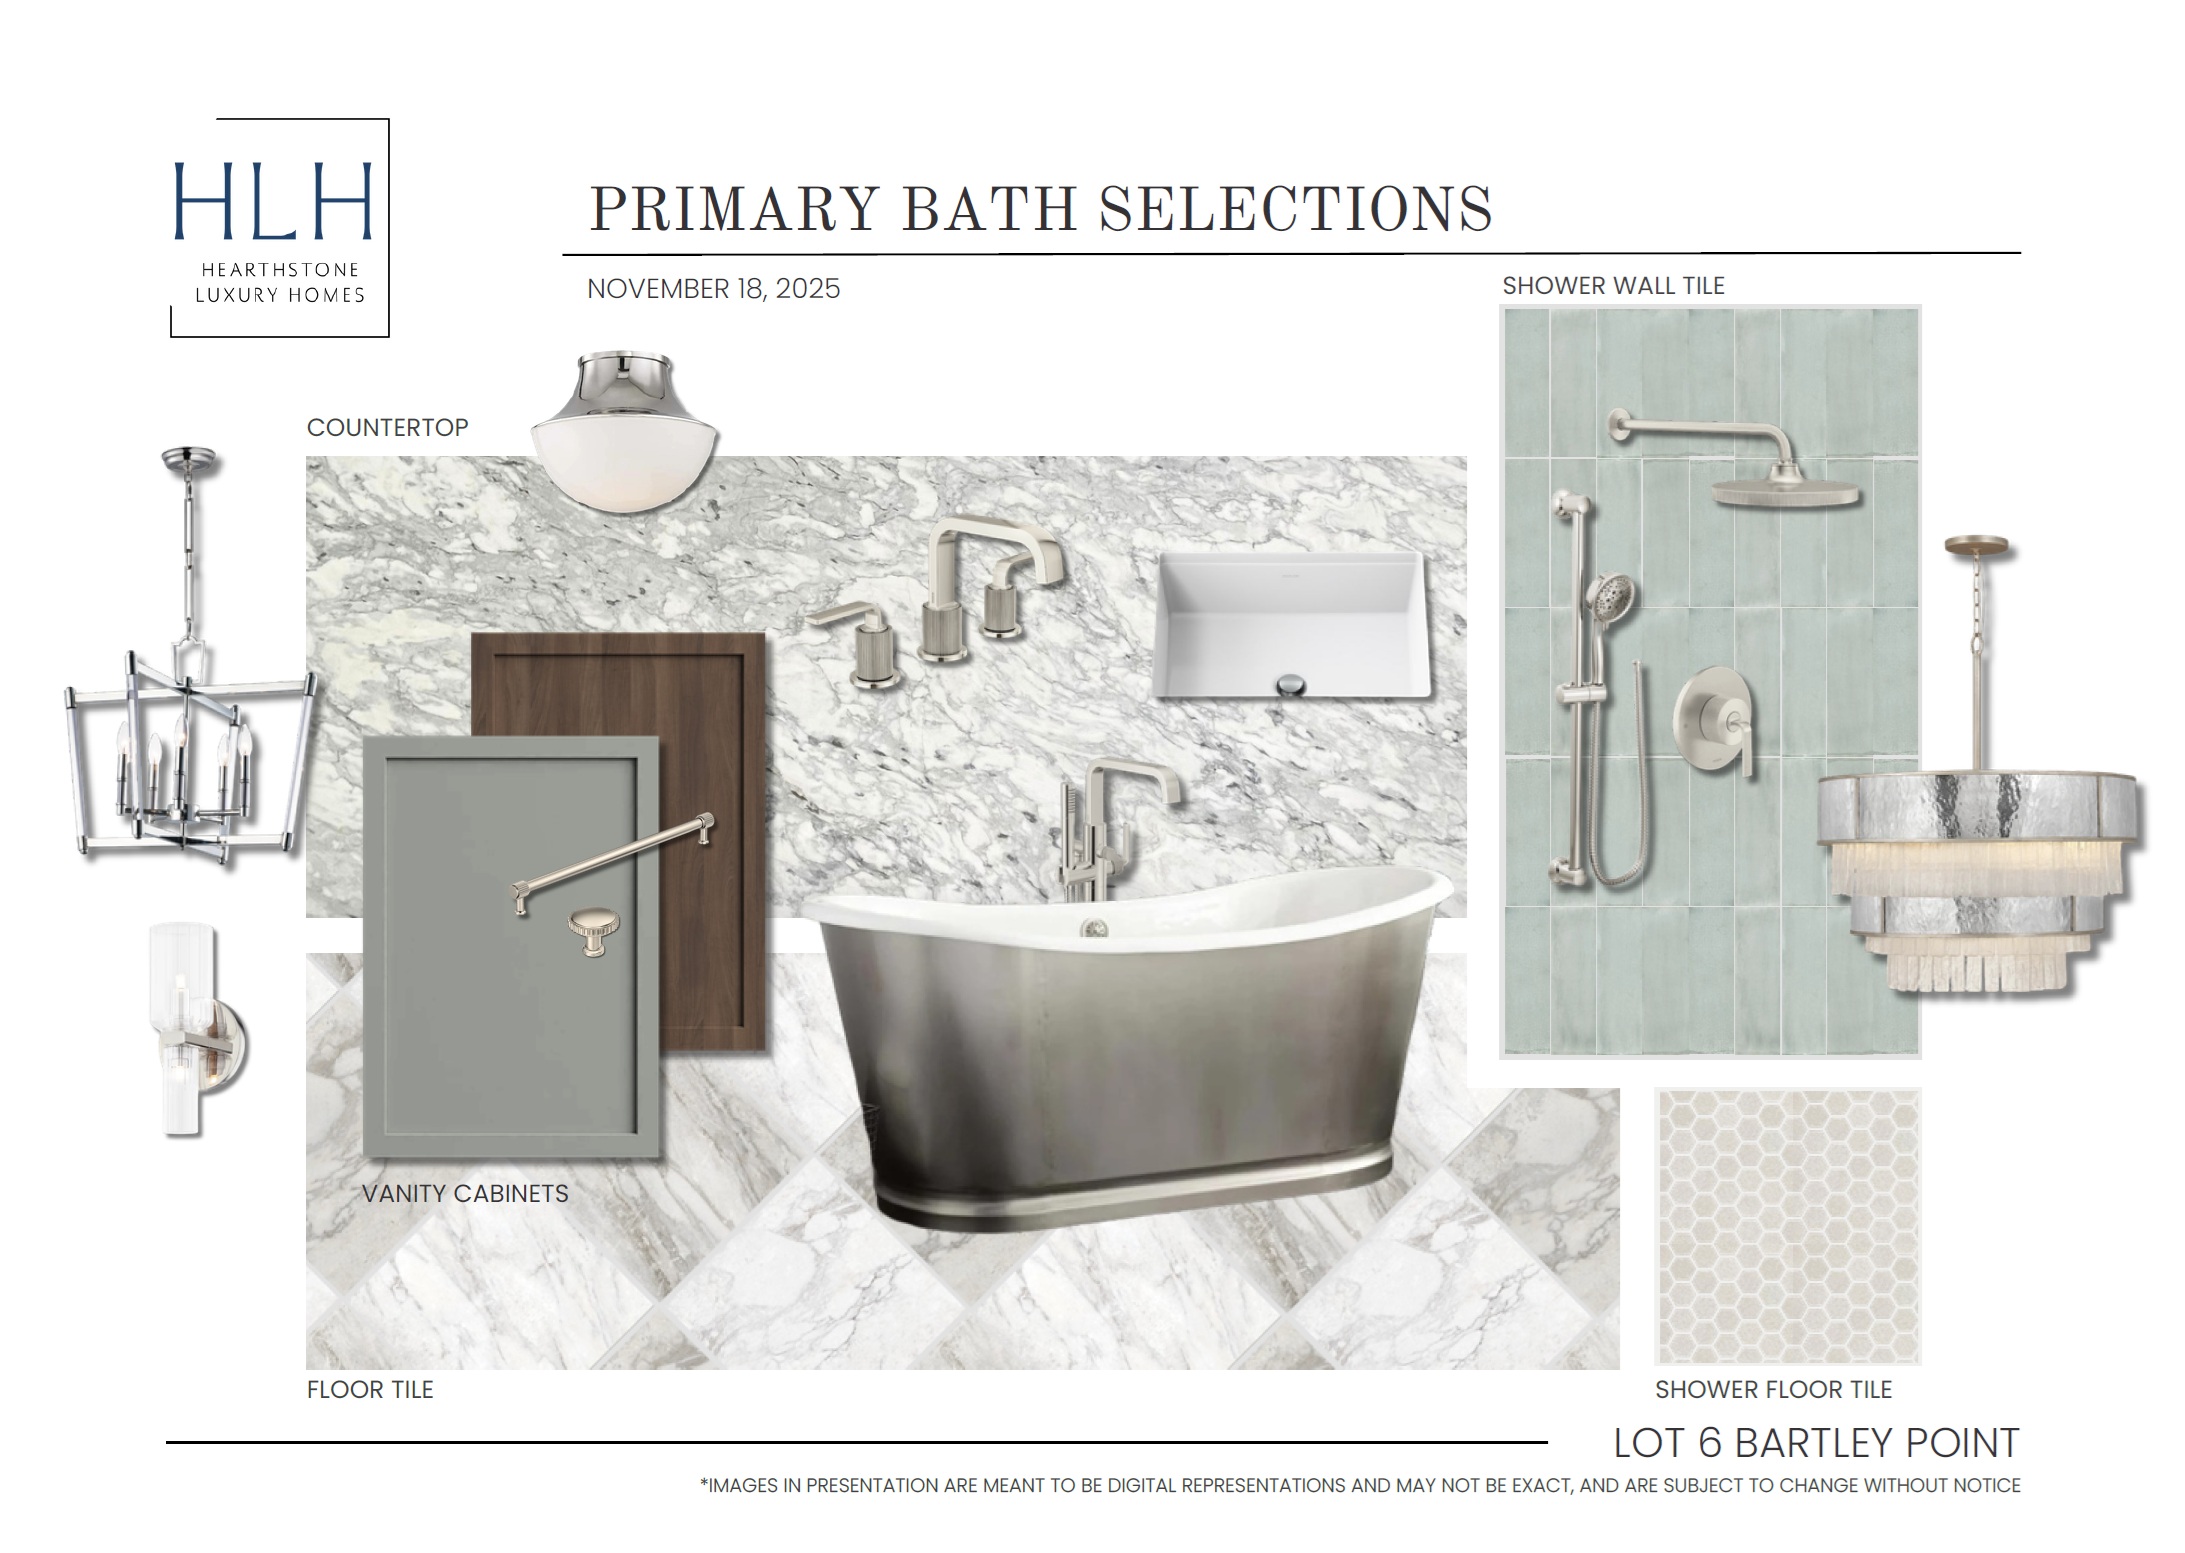
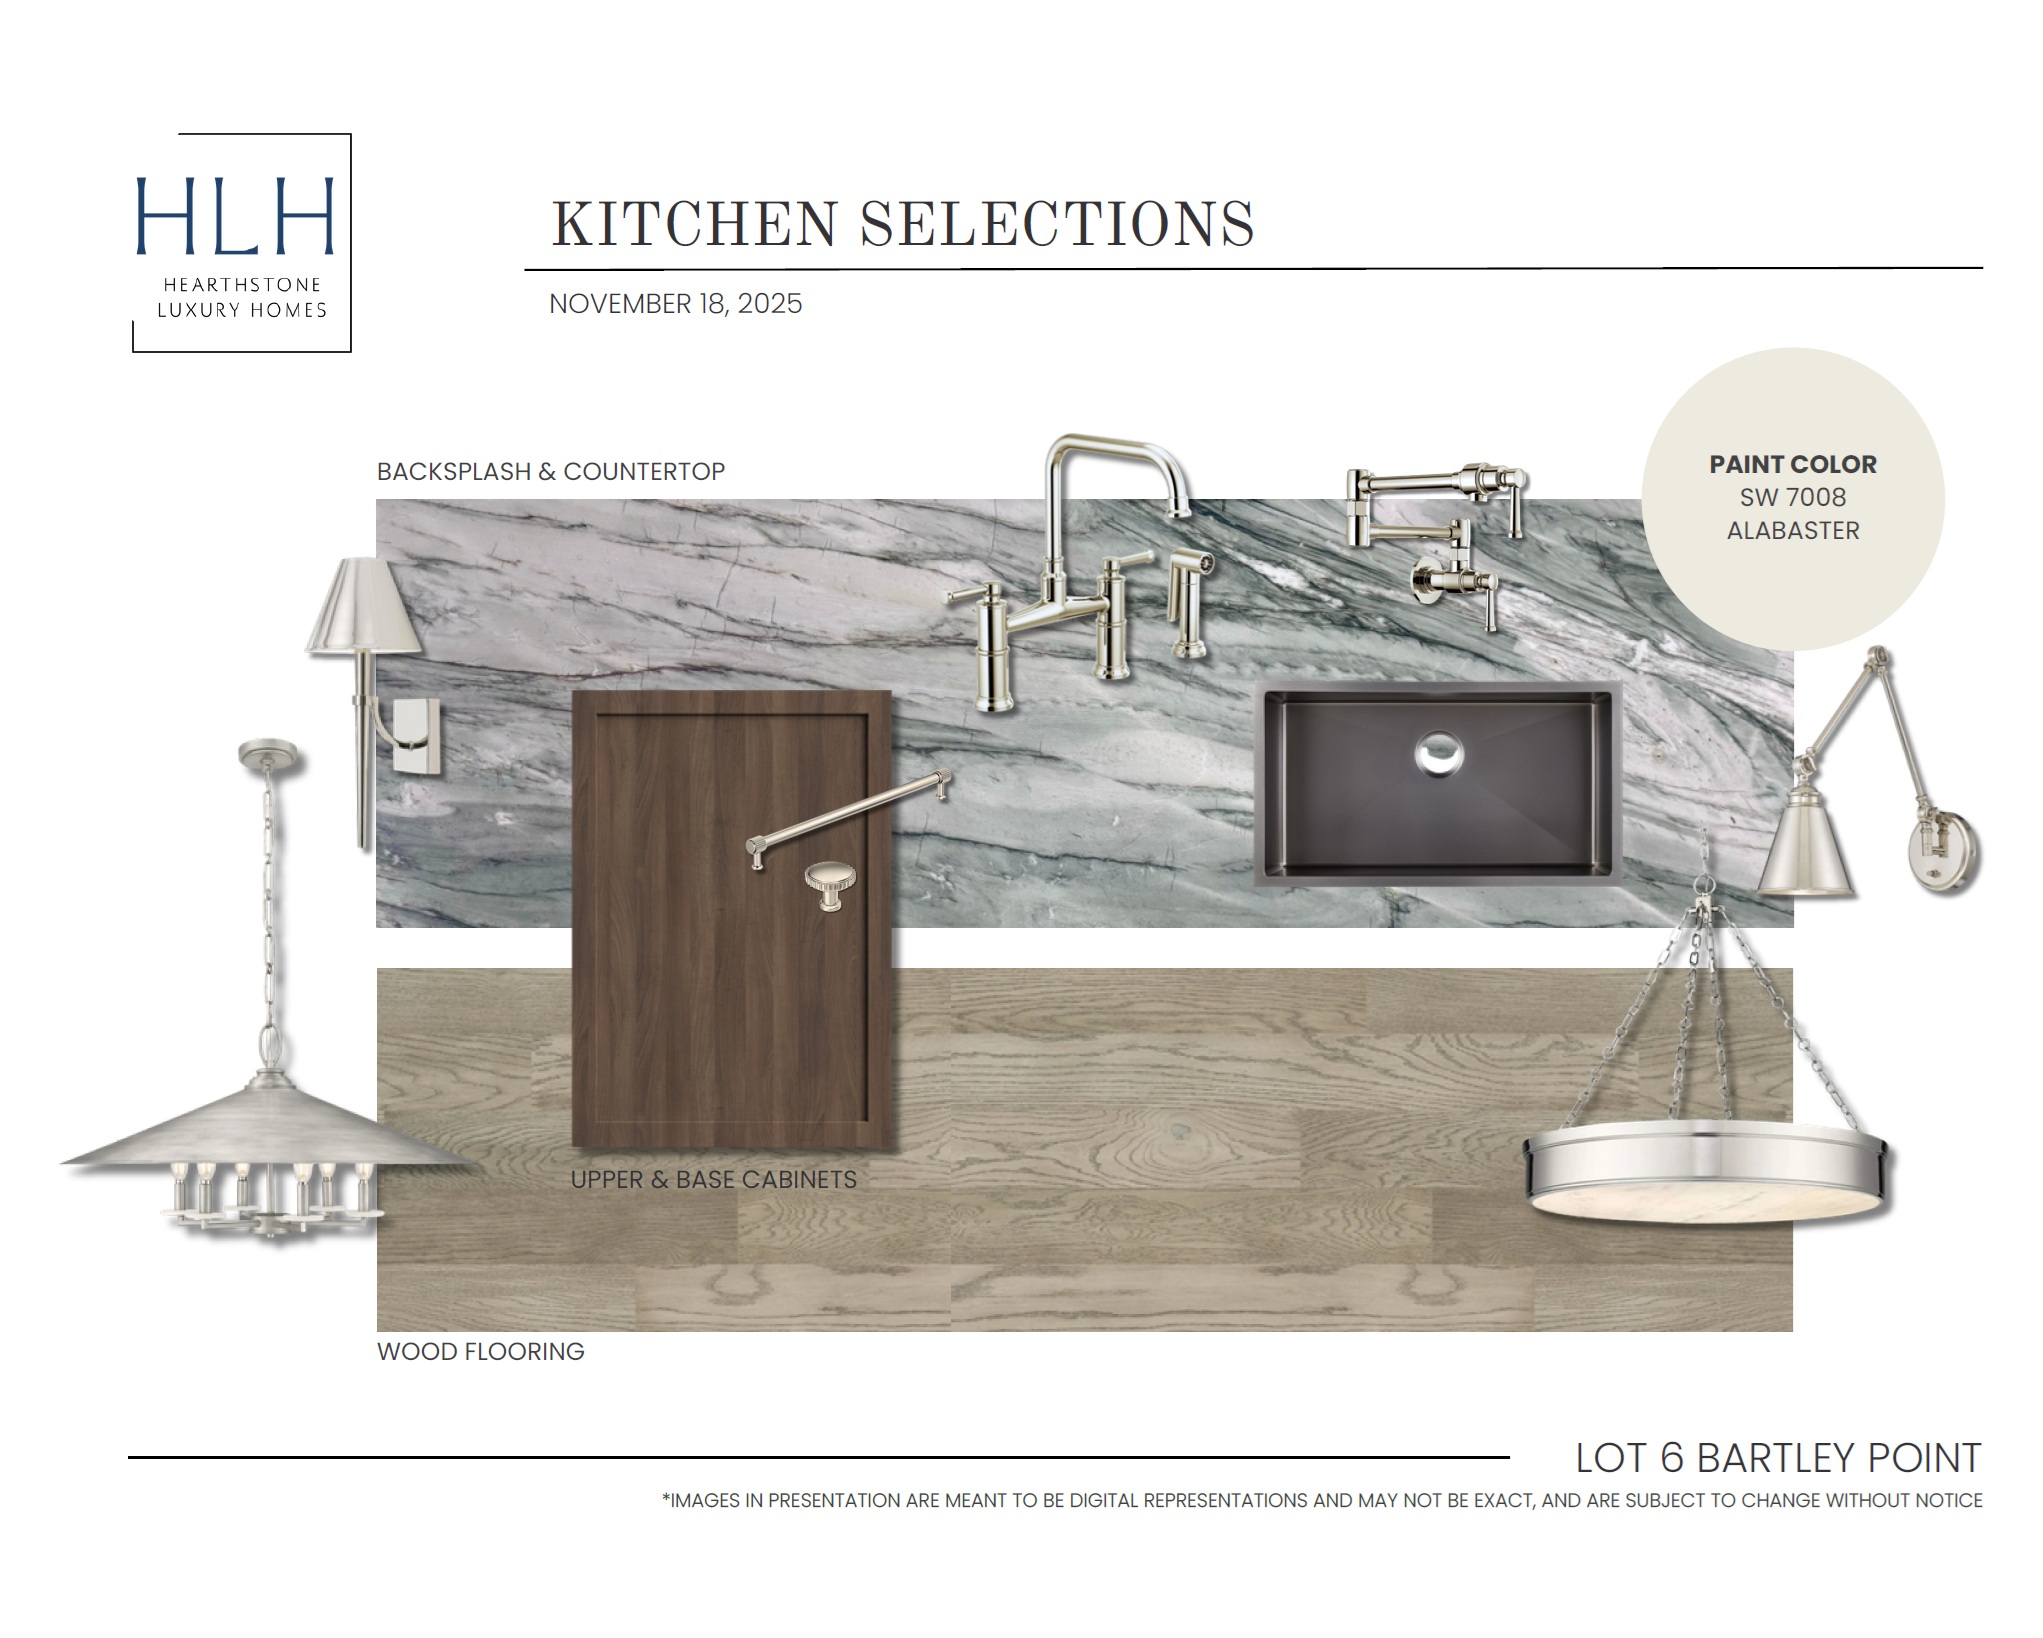
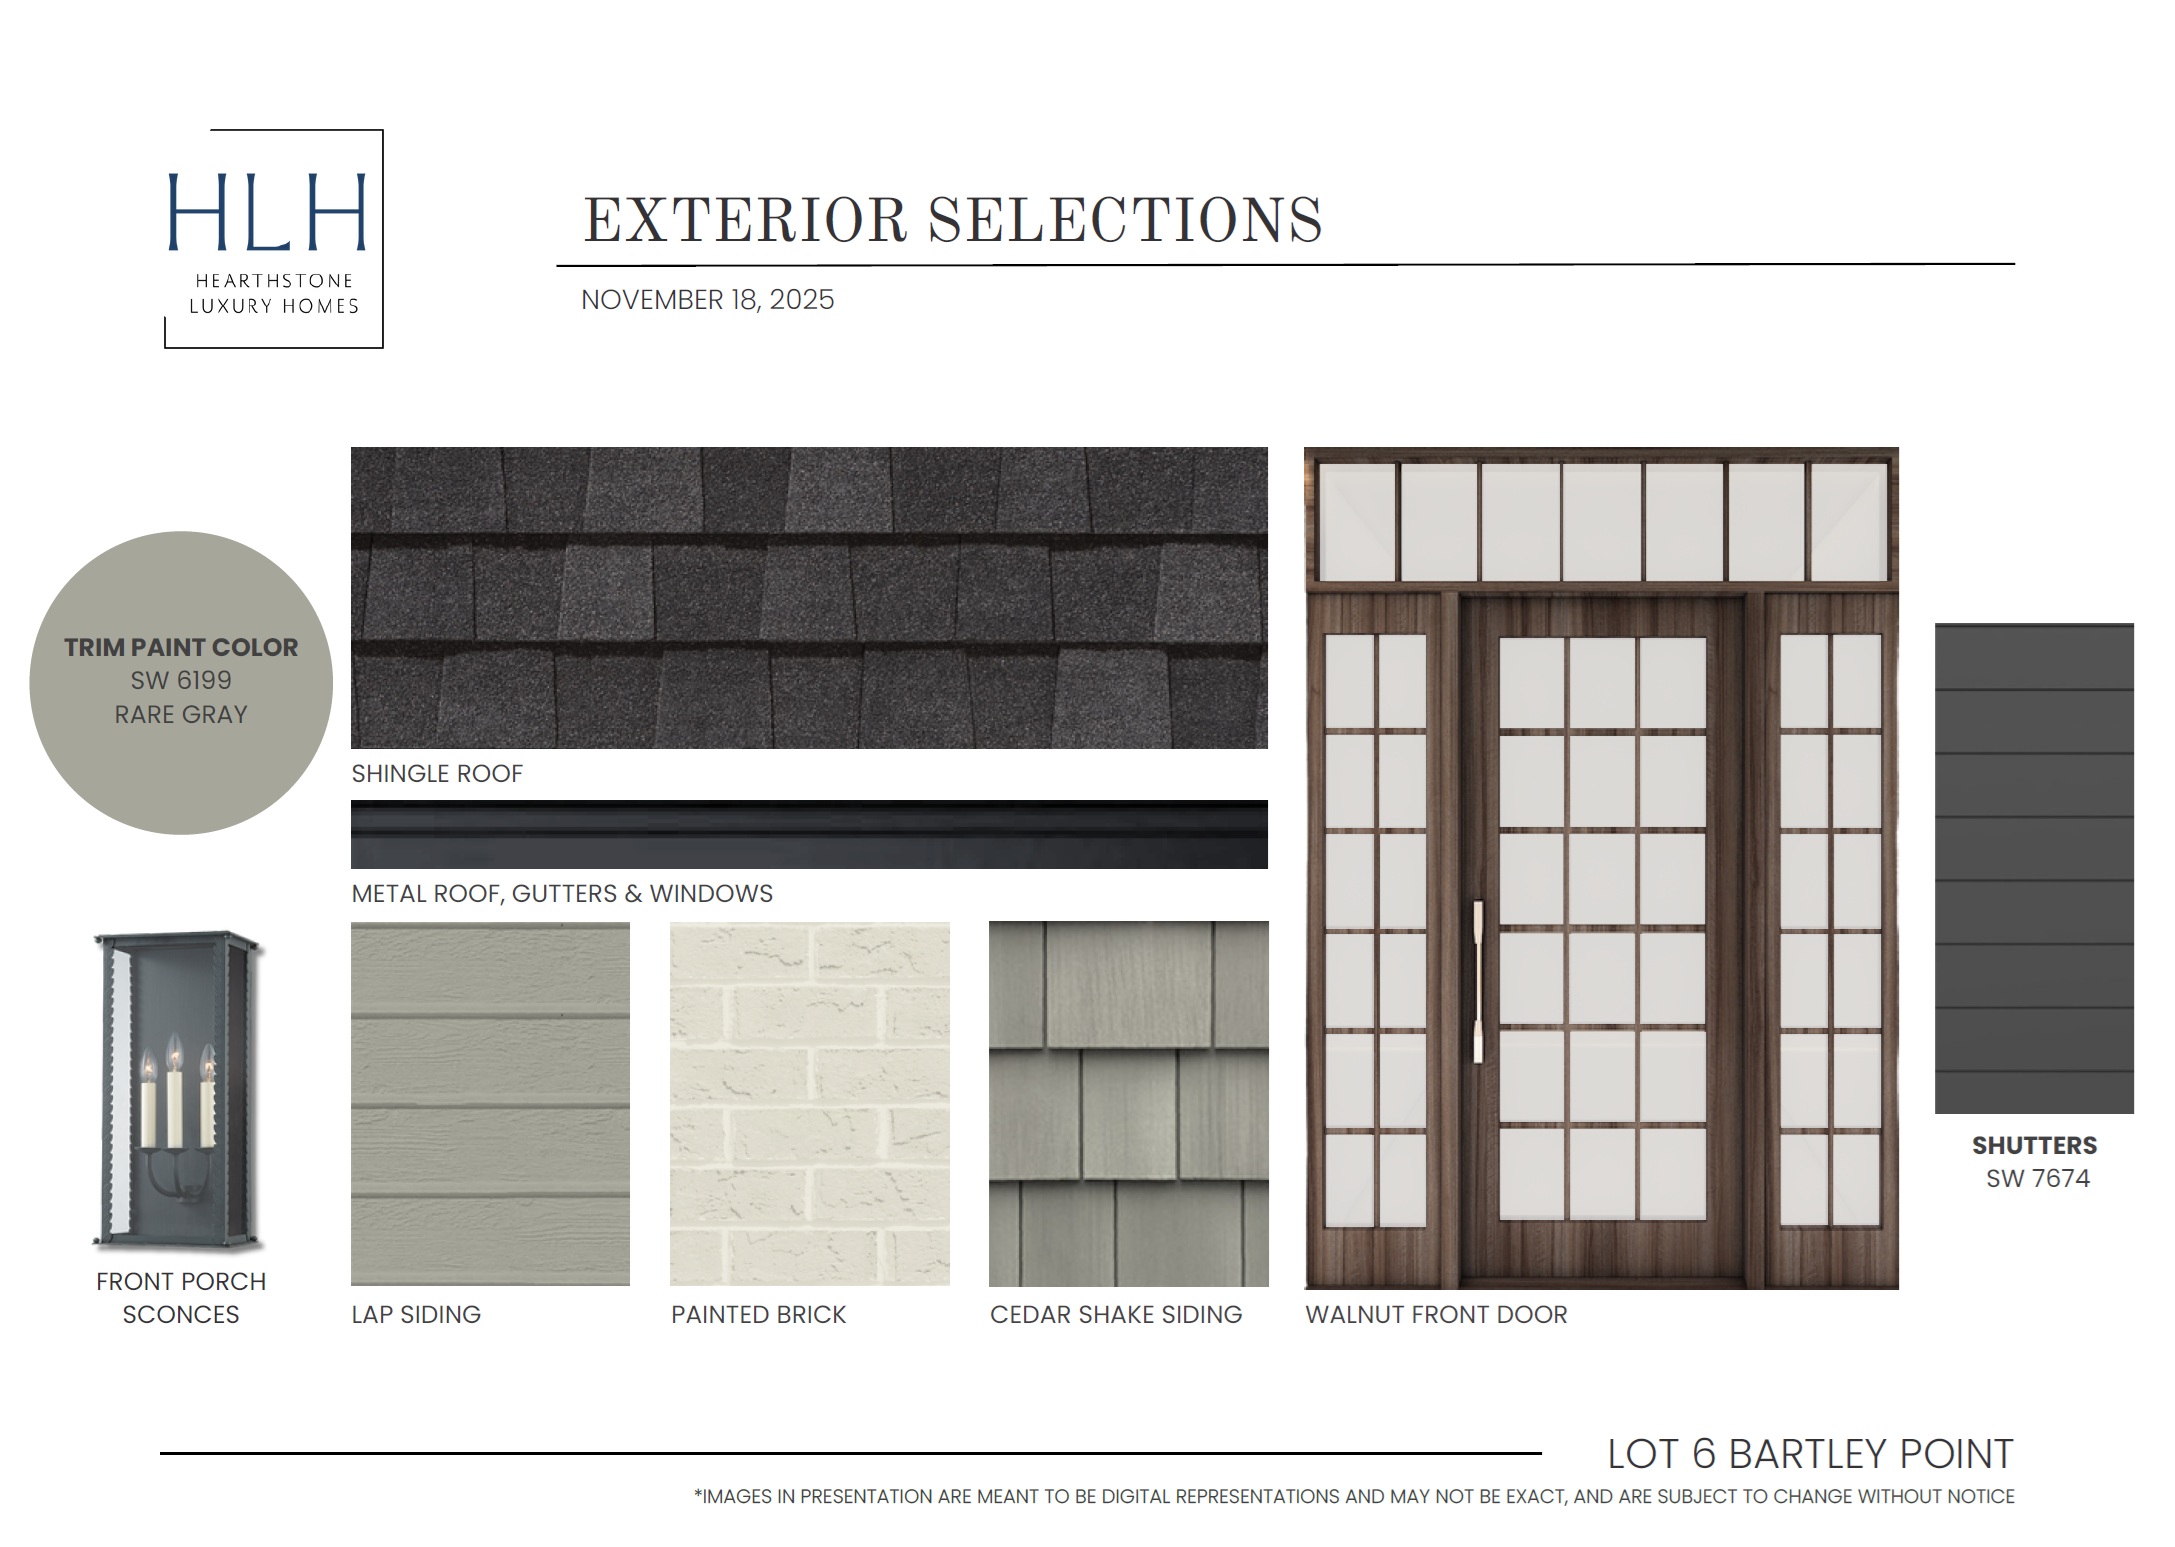
In parallel, our in-house Interior Designers will begin the selection process. They will will schedule and manage all of the various selection meetings that go into building your custom home, advising you along the way to help keep a unified feel with all the various choices you’ll be making.
If you happen to bring your own designer, have no fear, our Interior Designers will assist as needed to coordinate pricing, signoffs and implementation in the field.
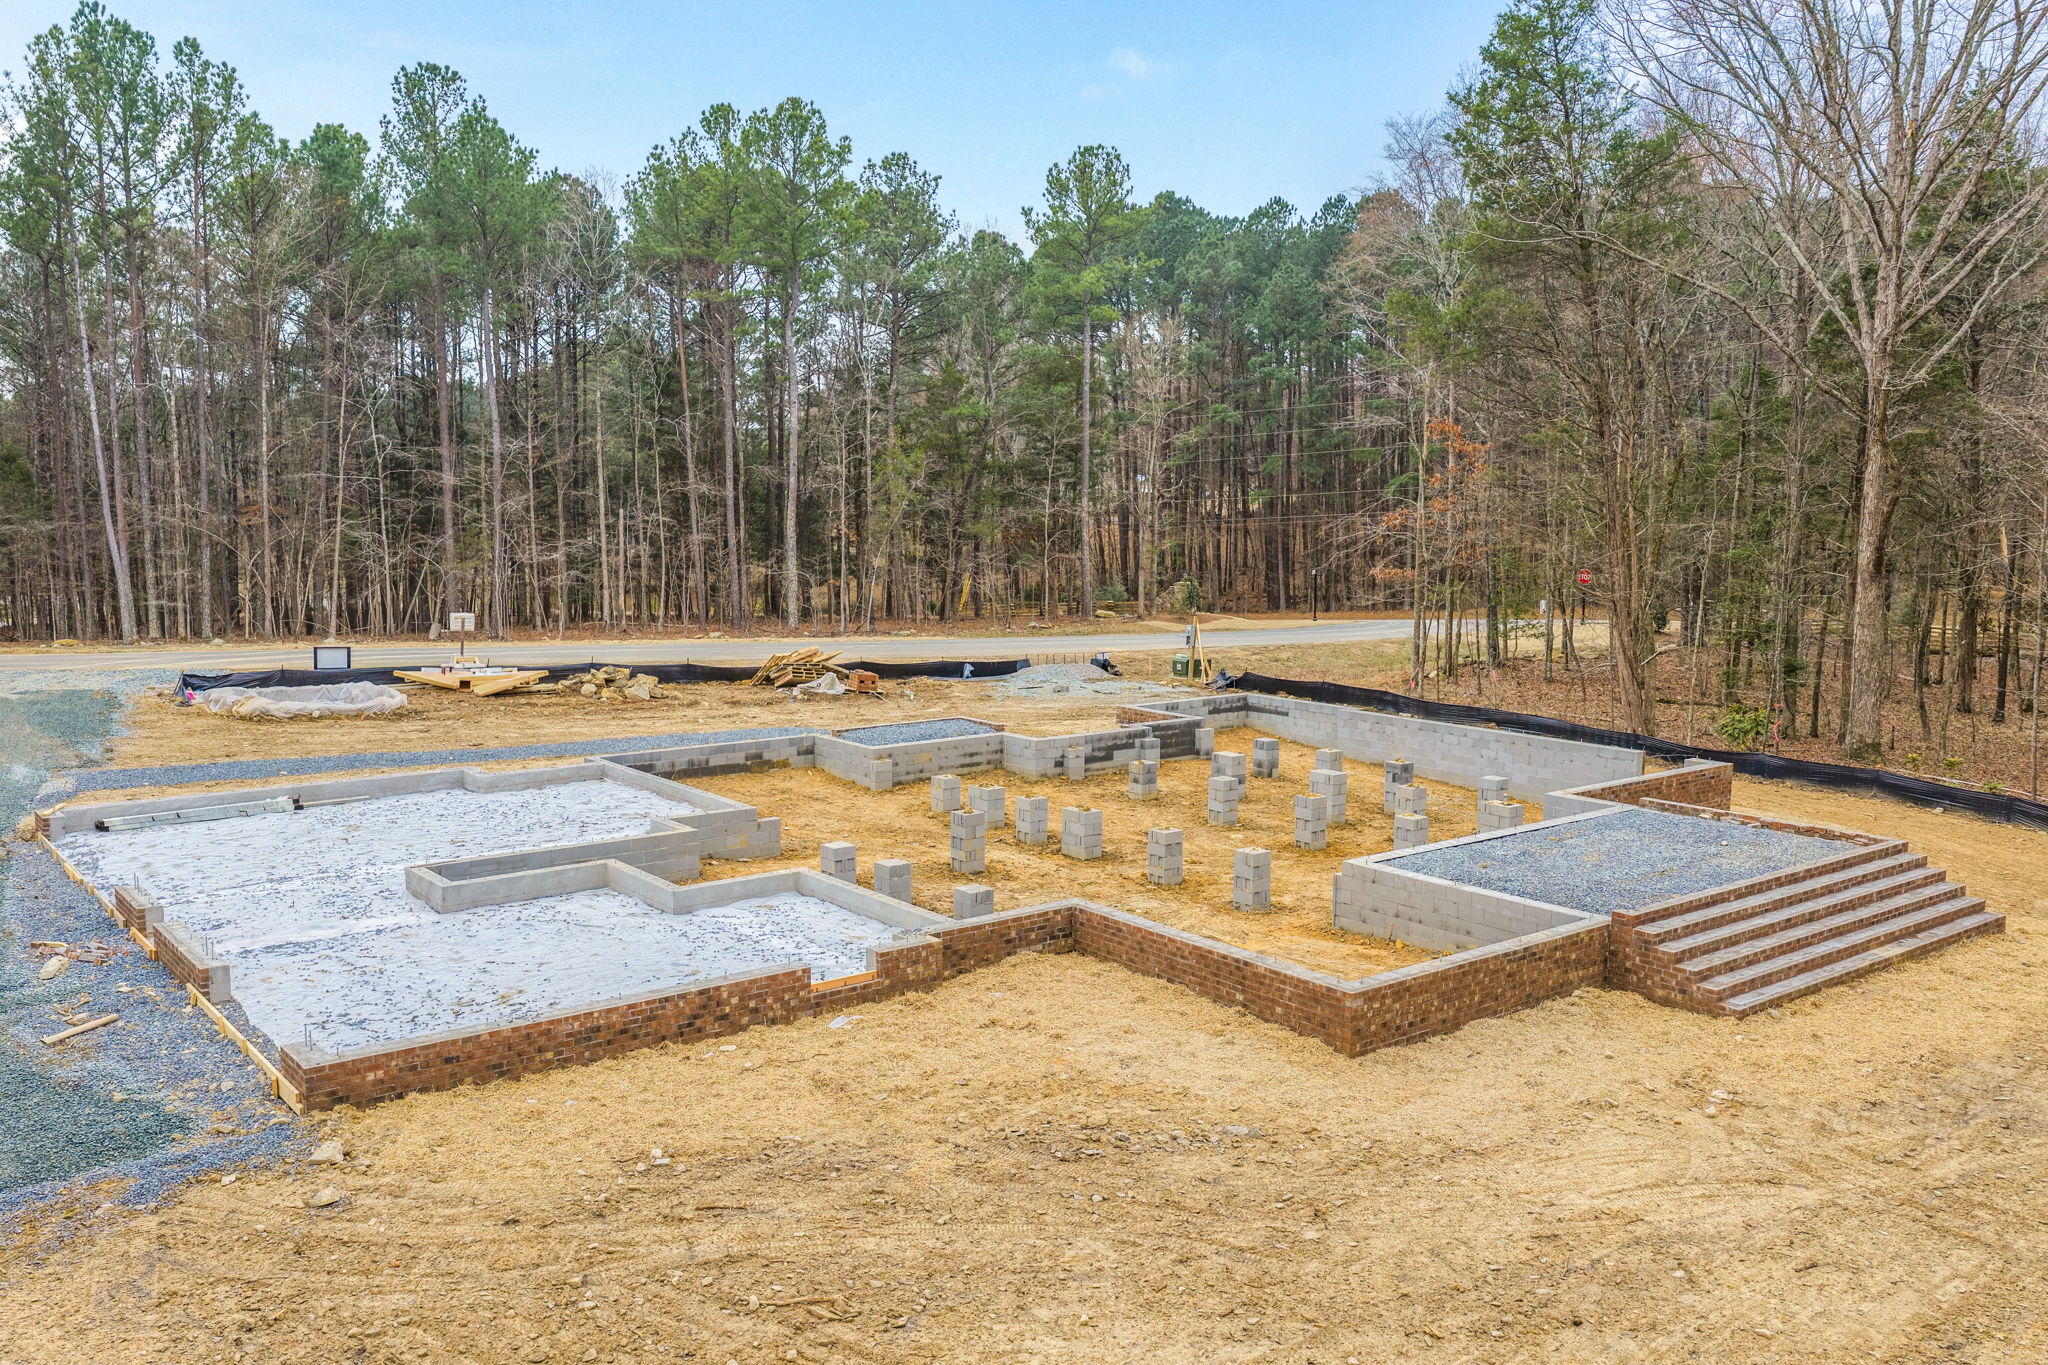
After the permits are in hand, we’ll begin breaking ground. Provided selections are made and signed off in a timely manner, we generally average between 9-12 months from footings to completion, though that timing varies on size and scope of the project.
Your dedicated Construction Manager and Interior Designer will be with you every step of the way.
We utilize a software platform called Buildertrend to manage selections, approvals, and day-to-day construction management, which our clients can access 24/7 to get an up-to-date snapshot of finances and progress.
At the end, there are a series of walkthroughs between our team and our clients to generate a final punch list before closing. We invite and recommend our clients get a third party home inspector for peace of mind at this time as well.
Once the final punch list is complete and signed off, we hand off keys and the home is yours!
After closing, our Warranty Manager takes the reins and works with you through the 1-year warranty period. Warranty items can be submitted through the Buildertrend warranty portal at any time through the warranty period.


All Hearthstone Homes floor plans and designs are copyrighted. Floor plans are subject to change, refer to your local builder for dimensions and pricing. Changes and modifications to floor plans, materials and specifications may be made without notice. Square Footages will vary between elevations specific to plan and exterior material differences. Some items pictured or illustrated are optional and are an additional cost. Additional elevations available through your sales consultant. Plan and elevation customizations are available and may have an additional cost. Dimensions are approximate. Illustrations are artist renderings only. Home and customer-specific detailed drawings and specifications will be furnished to each customer as part of their Building Agreement.
© 2026 All rights reserved and strictly enforced. Privacy Policy | Site by Meredith Communications
Error: Contact form not found.